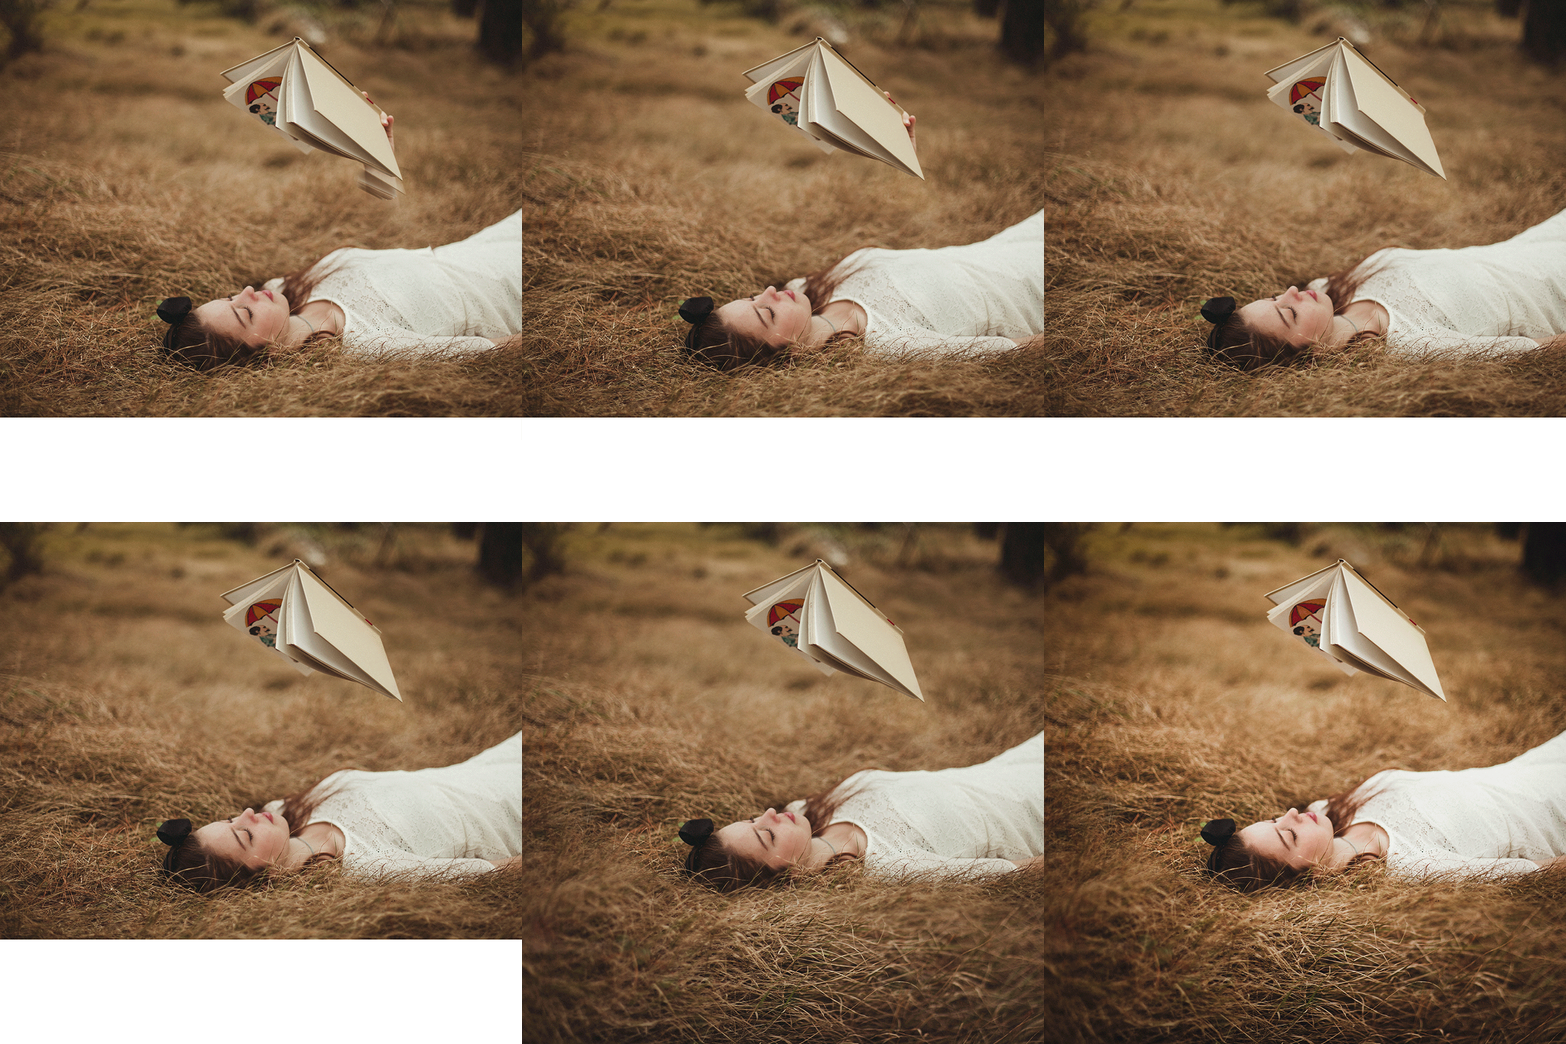
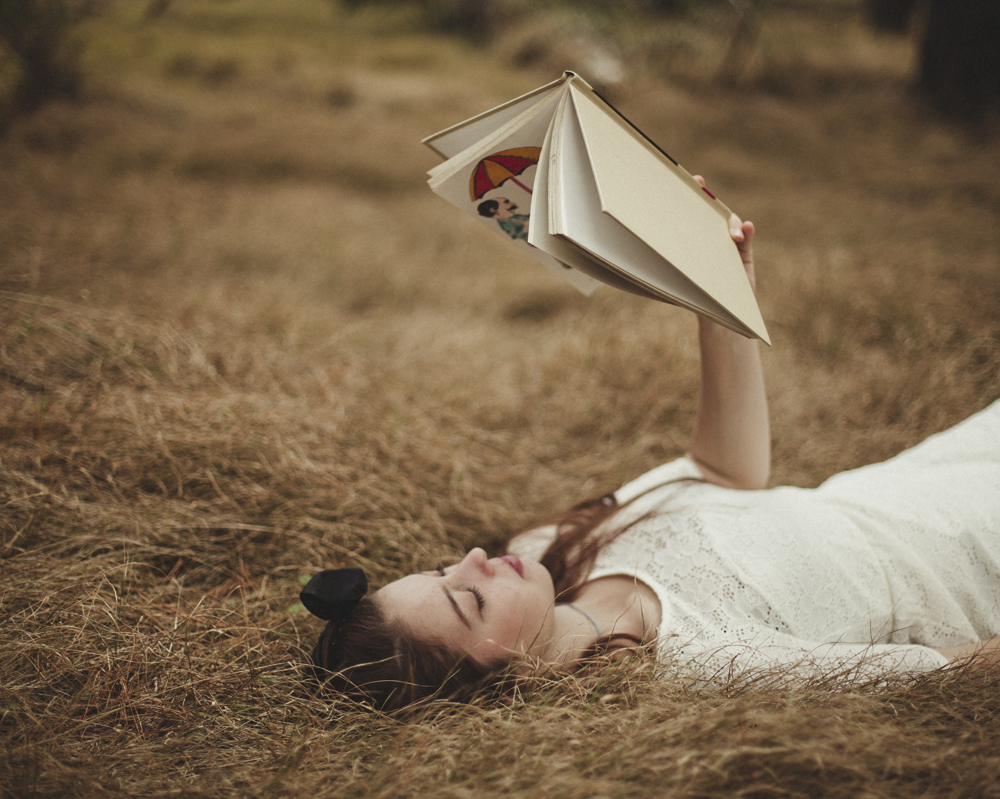
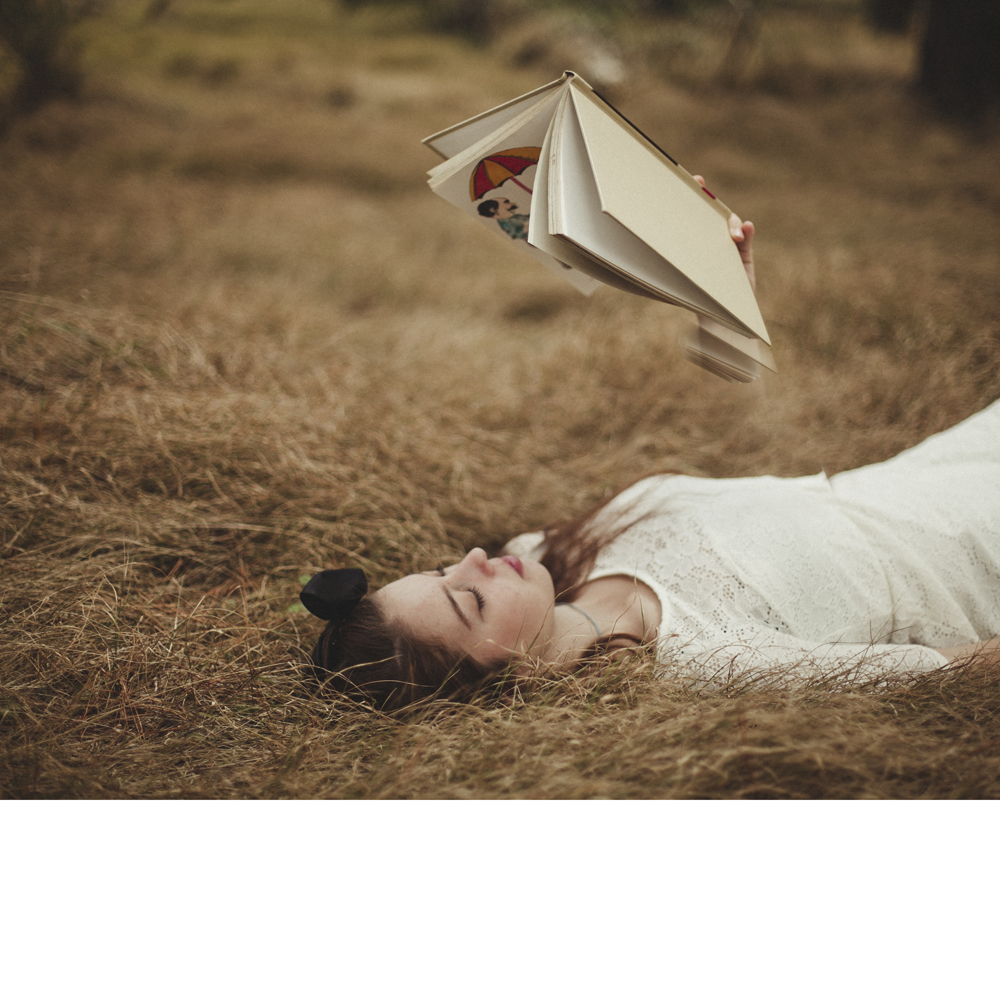
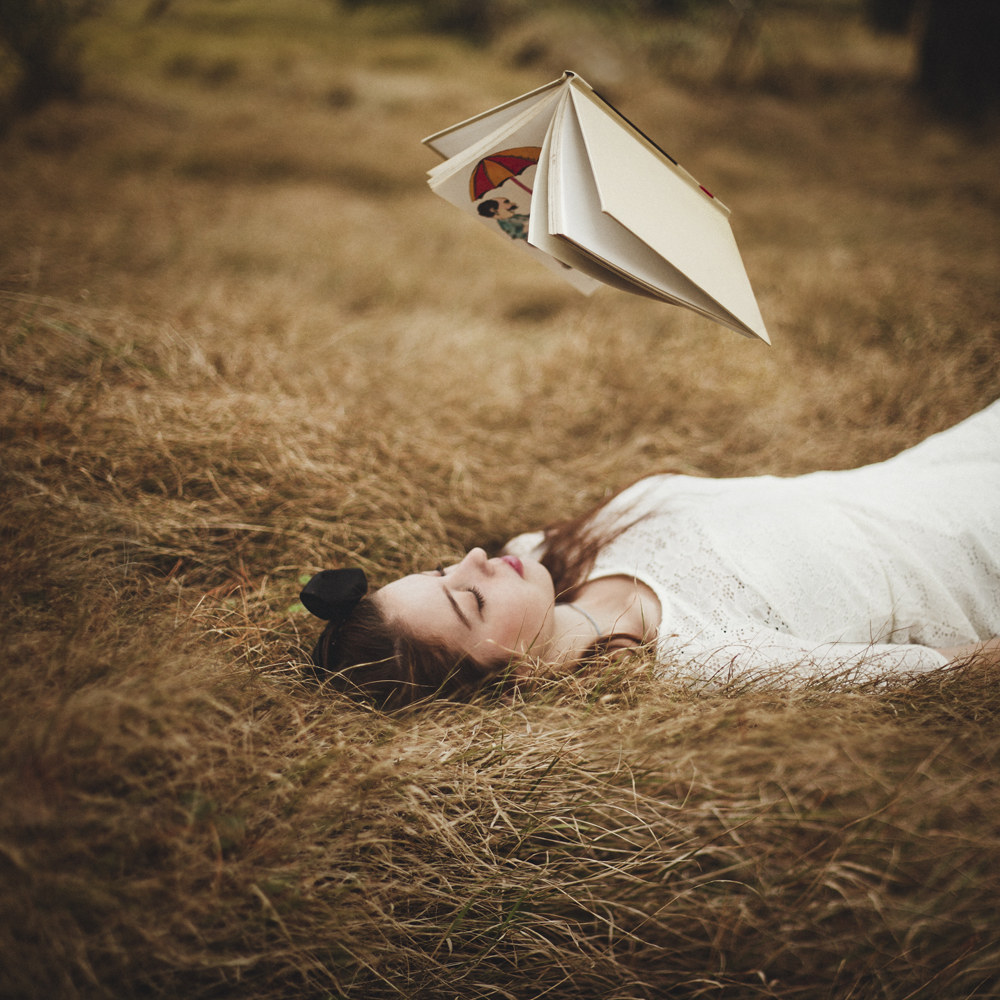
01. Original Image // We are going to start with the original image with the aim of creating an illusion that the book the model is holding is actually floating. This is the image straight from the camera with the Wild Bird Lightroom Preset applied to it.
02. Cropping // The first step is to open the image in Photoshop and apply a square crop as this is the ratio we want our final image to be in. We’re going to leave the bottom of the image white for a little while and work on the main part of the image first.
03. The Floating Book // I photographed this image with a final vision of having a floating book in mind, so I took a few different photos with the model’s hand in various positions. This gives me a lot of options in terms of stitching together photos. I selected a different photo from the series that had nothing but grass in between the book and the model and overlaid it on the image I am working on.
I set the opacity of the photo to around 20% so I can move it into place. Once I am happy with the positioning, I put the opacity back up to 100% and apply a layer mask. Using a brush of 20% opacity, I brush out the arm holding up the book to leave nothing but grass behind. If there are any sections of the grass that aren’t lining up properly, I use the Clone Stamp Tool at 10% to blend it out.
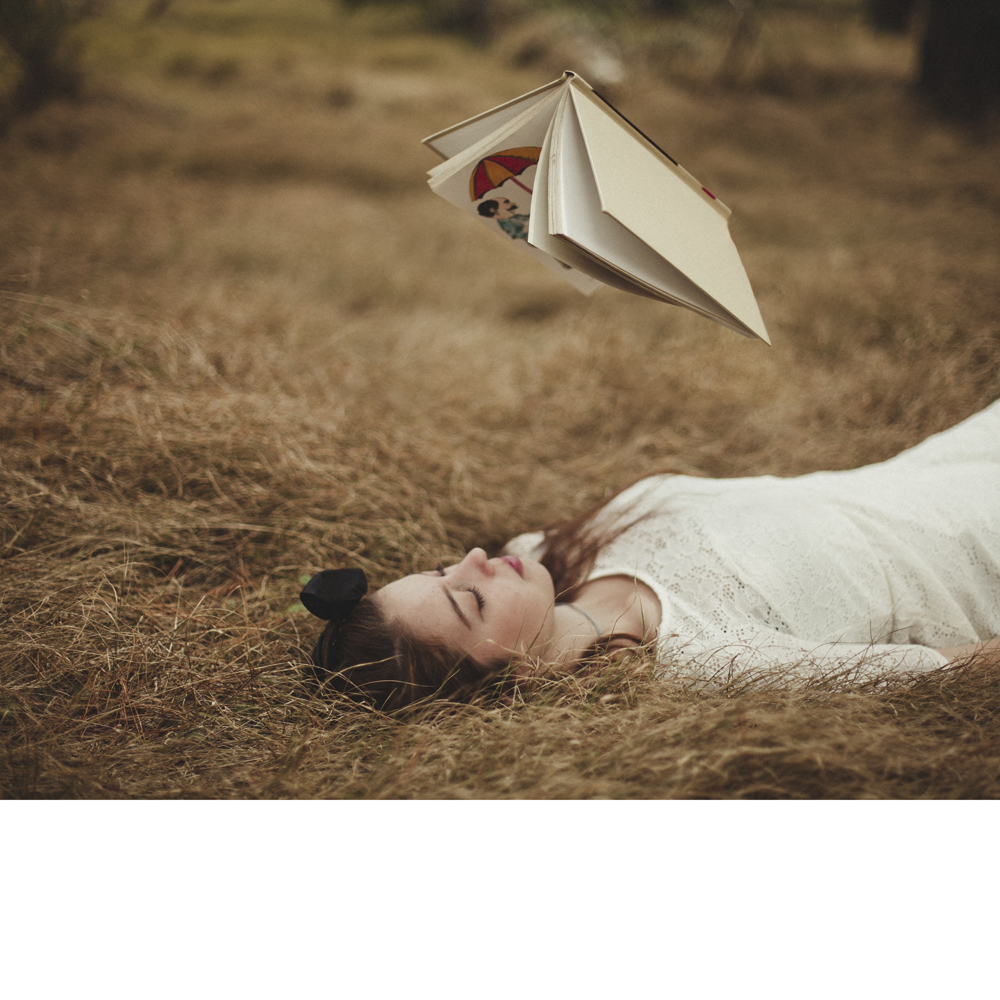
04. Removing the Hand // Now that the model’s arm has been removed, we are left with her fingers holding the book. I use the Clone Stamp Tool at an opacity of 50%, sampling from the grass right beside her fingers to brush them out.
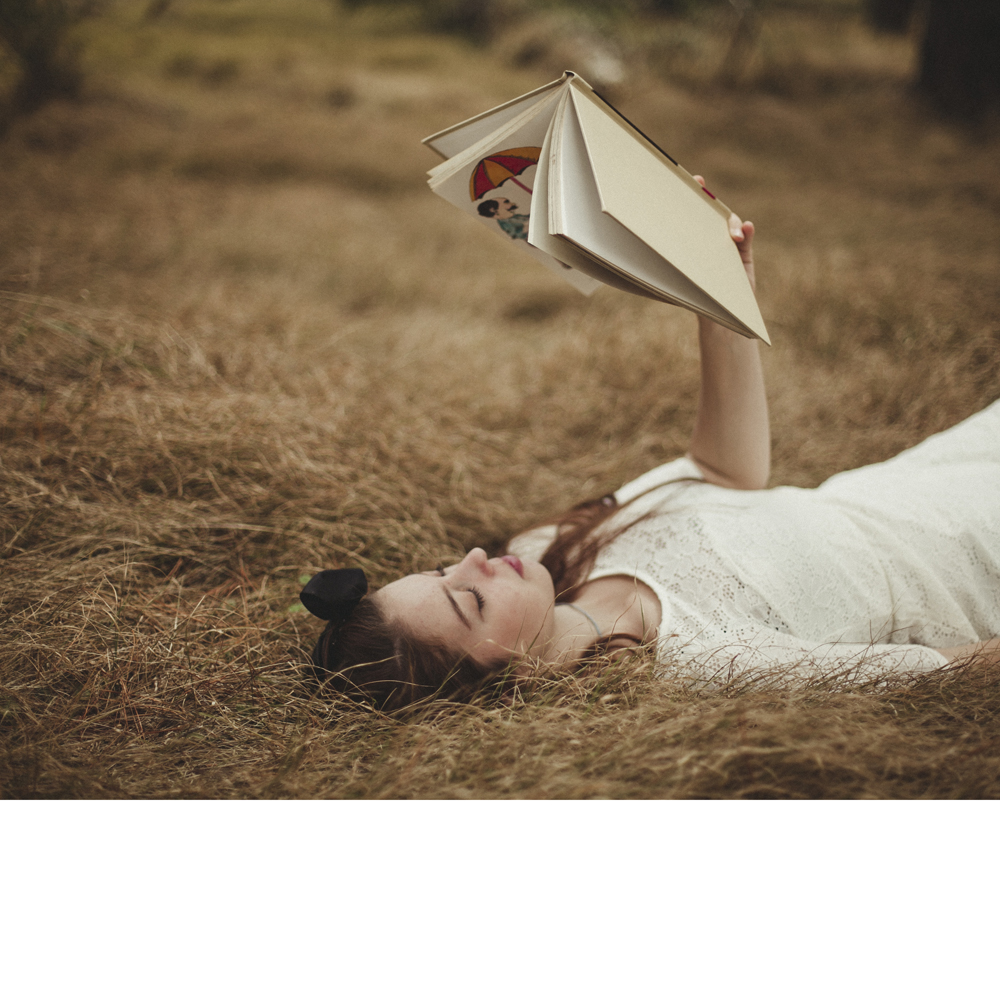
05. Fixing the Book // Now that we’ve stamped out the fingers from the photo, the book is looking a little crooked. We’re going to take a photo from the variety of angled that we shot to fix the book up. Once again, select the book from another image and paste it onto the image you are working on. Lower the opacity and line it up, before bringing the opacity back to 100% and brushing the excess with a soft brush on the layer mask until it blends in.
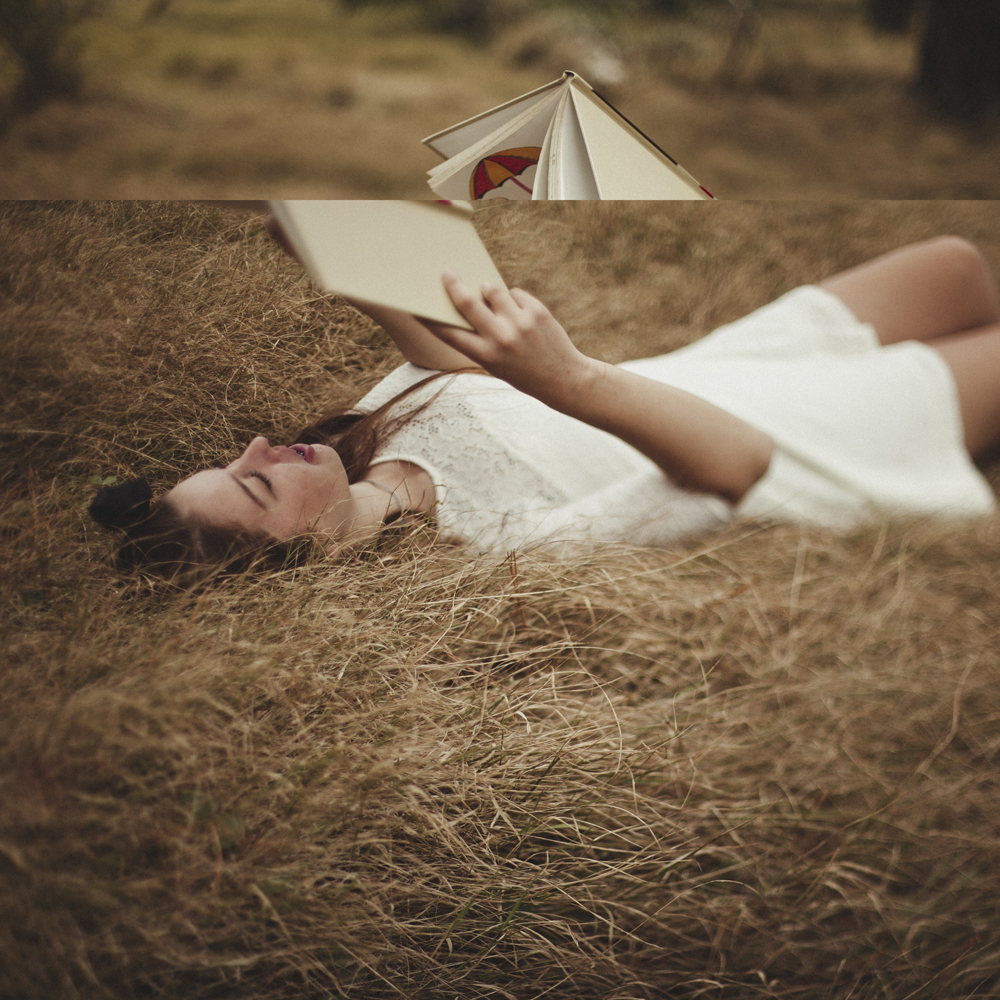
06. Adding Grass // The last part of the image we’re going to work on is filling out the square crop at the bottom. Once again I dove into my archives to find an angle that had more grass in the photo to blend the two together. I import the whole photo into the image I am working on and move it into place. I then apply a layer mask and use a large, soft brush at 30% opacity to start brushing out any unneeded sections of the image. Since the grass is already so unruly and this photo was shot at a low aperture with a wide depth of field, I don’t need to be too careful in how I blend in the grass.
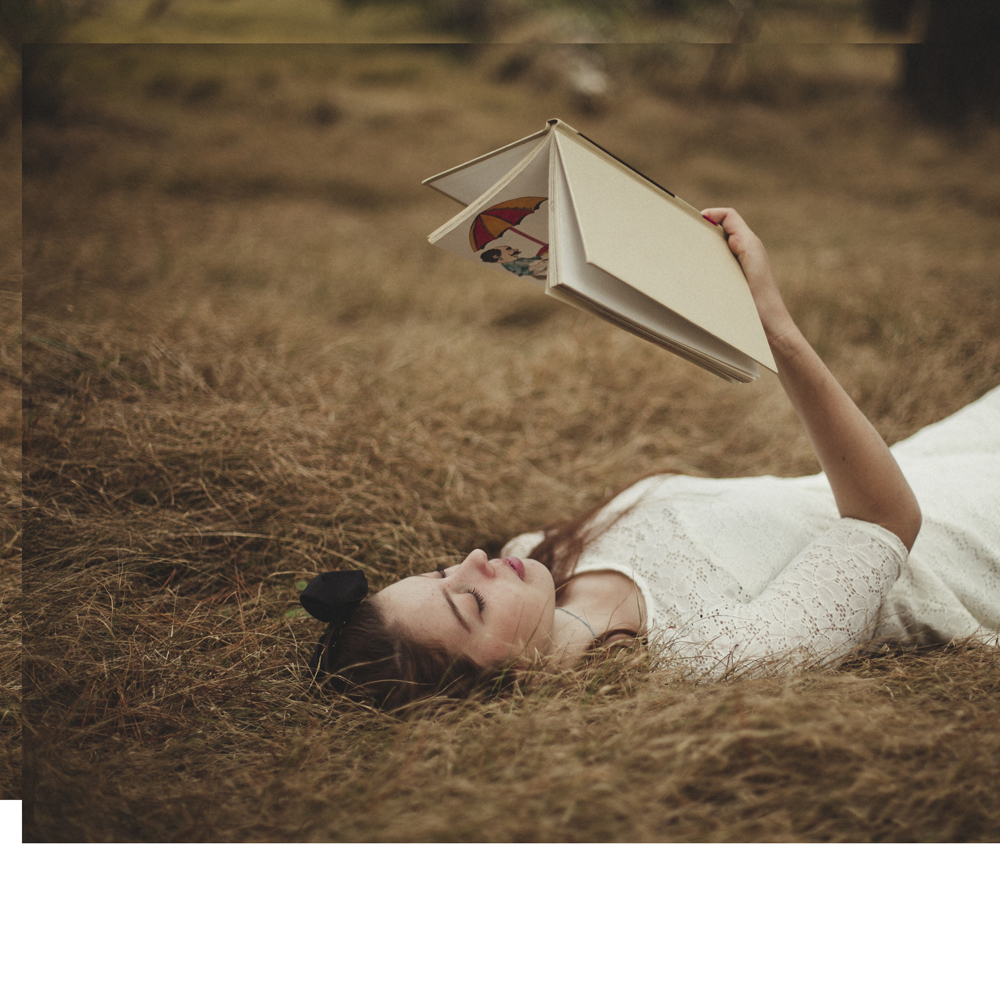
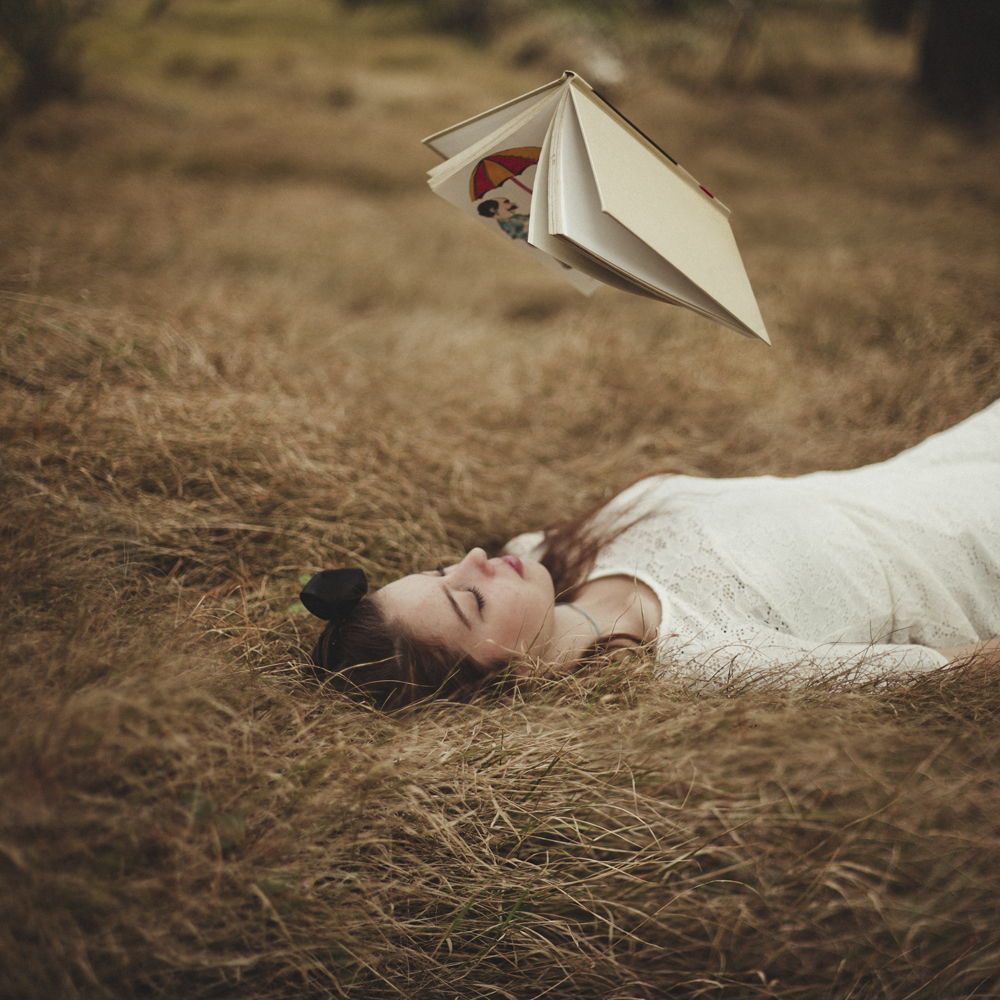
07. Colour Grading // The final step in the entire process is to do one final colour grade of the image. I am happy with how the colours look, so I am just going to tweak the tone. I use the Lasso Tool to select a rough circle around the overall image and change the feather of the selection to 200. I then use the RGB curves to bring up the brightness in the centre of the photo, drawing attention to the model and the floating book. I then make another circle selection, this time inverting the selection and changing the feather to 200 again. With RGB curves, I bring down the brightness to create a slight vignette to the photo. Below is the final photo!
