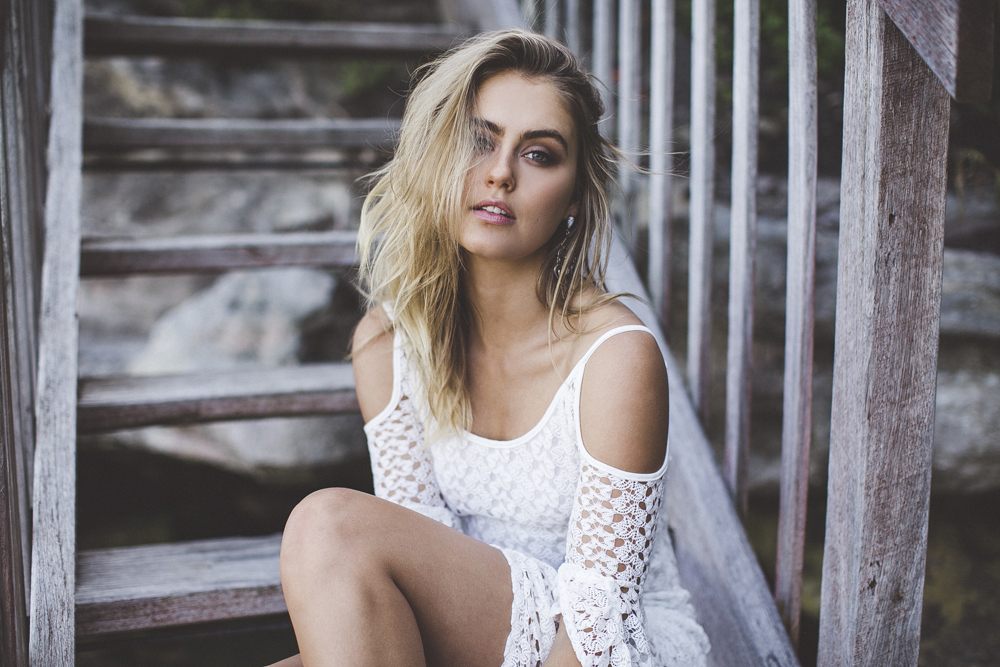
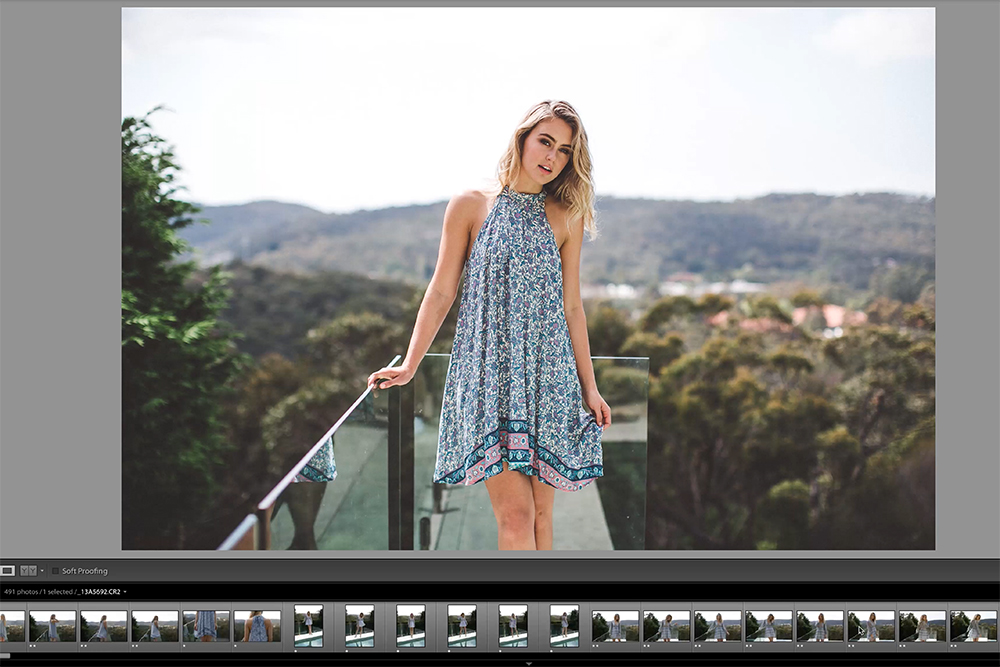
Today we're going to take a closer look at batch processing images in Lightroom. I screen recorded my entire process of batch editing an entire lookbook shoot for LadyLuna I worked on, where I process my images in Lightroom, add some final touches in Photoshop and finish it off by preparing my images for a blog post.
The video below was my entire process of editing a lookbook for a client. I didn't re-record this after I had finished the images as I wanted to be as candid as possible. Feel free to watch the video below and keep scrolling to read the written tutorial!
01. Selection // The only part of my process that wasn't included in this video was the selection process! The selection process itself can be written about so in-depth, that I believe it is best saved for it's very own blog post one day down the line! Instead, I took the pleasure in sifting through hundreds of photos and not including it in the recording this time. A few fun facts about the shoot though!
We photographed 40 outfits throughout a full day of shooting (from sunrise until sunset).
I ended up with about 900 total photos at the end of the day.
We selected and had a final 489 finished photos.
While this might seem like a bucket-load of photos, when you start breaking it down, the numbers start to make sense. With a lookbook and campaign shoot of 40 outfits, you need at least 1 or 2 great full body photos with the model facing forward. You then need one full body side shot and one full body shot from the back. On top of that, you need another 1 or 2 great closeup photos with the model facing forward, as well as one side and one back closeup. You also need a closeup of the fabric of the clothing.
Since we were also shooting a campaign on top of a lookbook shoot, we had a few key outfits that needed extra photos that we could use as part of the campaign. This means more variation in the posing and thus a few more photos.
02. Importing // Once all the final photos have been selected, they can now be imported into Lightroom. It's preferable to start with a fresh Lightroom Catalogue when batch editing hundreds of photos, so be sure to make a new one before the photos are imported into Lightroom.
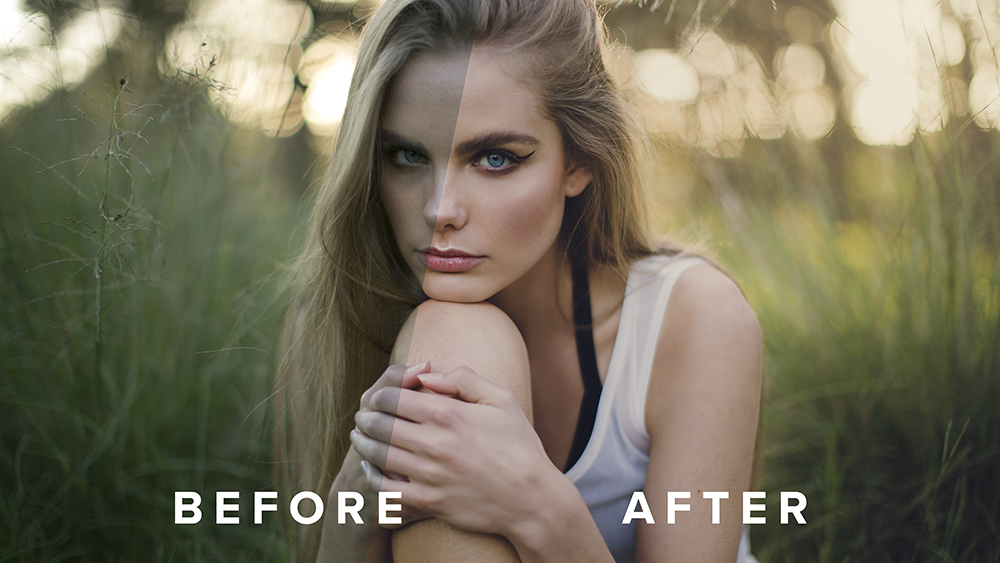
03. Colour grading // Discuss with the client what final style of photo they are looking for, sending through examples. It is best to confirm what look is needed for your photos before batch editing hundreds of images! Apply the final preset to the first image then synchronise the preset to the rest of the catalogue by selecting all the images and pressing the "Sync..." button in Lightroom. One preset isn't going to work perfectly on different images photographed in different locations with different settings and different lighting situations, but we need to have the base preset there to work with before going in to tweak each image individually.
Once all the images have synced with the correct settings, head back to the first image in the catalogue. In the case of this lookbook shoot, usually one or two outfits will have the same lighting and location. Let's focus on these as a smaller batch. On the first image, tweak settings such as temperature, exposure, tint, etc until you are happy with the final result. Next synchronise those settings to the rest of the images in that outfit or smaller batch of photos that all have the same lighting and location. Now you should be able to go through each image one by one and only need to tweak the most minor things, if anything at all.
Repeat this process throughout the entire collection of images. Tweak the first image to perfection, synchronise across a smaller batch of images and flick over the synced images to make sure no further tweaking needs to be done.
04. Export // Once all the images have been individually colour processed in Lightroom, it's time to export. Select all the images in the catalogue, right click on any image and go to Export > Export... Choose a specific folder to export the images to and adjust the settings to suite what you need. I normally use the following settings:
Image Format: JPEG
Colour Space: AdobeRGB (1998)
Quality: 100
Resize to Fit: UN-ticked to make sure the highest resolution images are exported
Resolution: 300
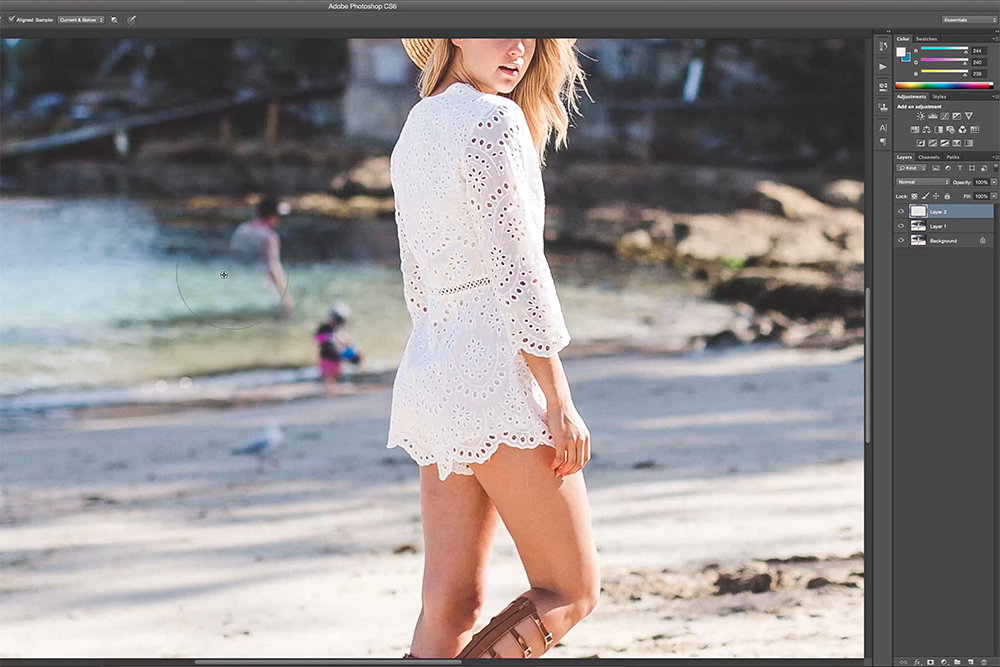
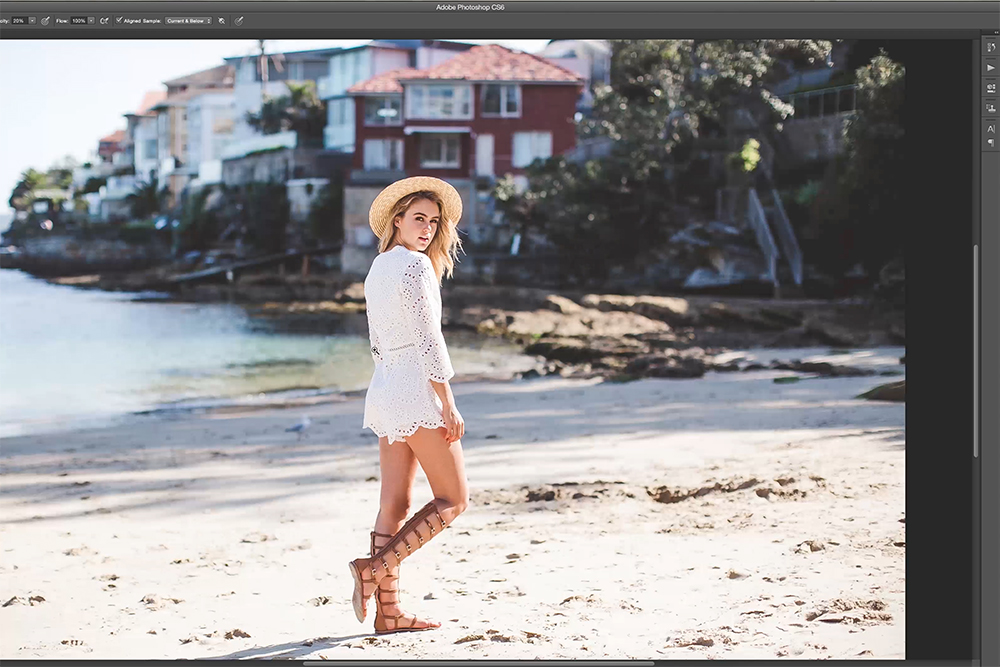
05. Photoshop // Now that the images have been colour-processed in Lightroom, it's time to move ahead to Photoshop to edit any extra distractions in the images that Lightroom doesn't have the capabilities to remove. In the case of this lookbook shoot, I was looking to remove any people, rubbish or general distractions that might have appeared in the background of a few photos. In the above photos you can see me using the stamp tool to remove a couple of people by the ocean. This is the final step in finishing off the photos to be the final edit.
06. Cropping // The final step in this process is to re-import all your final JPG photos (including the photos edited in Photoshop) into Lightroom to prepare for the cropping. The reason to crop at the end of this process instead of while you are colour grading the images, is to ensure that any photos that needed extra retouching in Photoshop are included in the final batch of cropping to make file management more simple.
Once again, you need to start at the beginning of your Lightroom catalogue, this time with your finger hovering over the "R" key of your keyboard, which is Lightroom's shortcut for Crop. You can either crop the first image and synchronise the settings with the rest of the images in the outfit batch, or you can opt to crop each image one by one which is what I prefer to do.
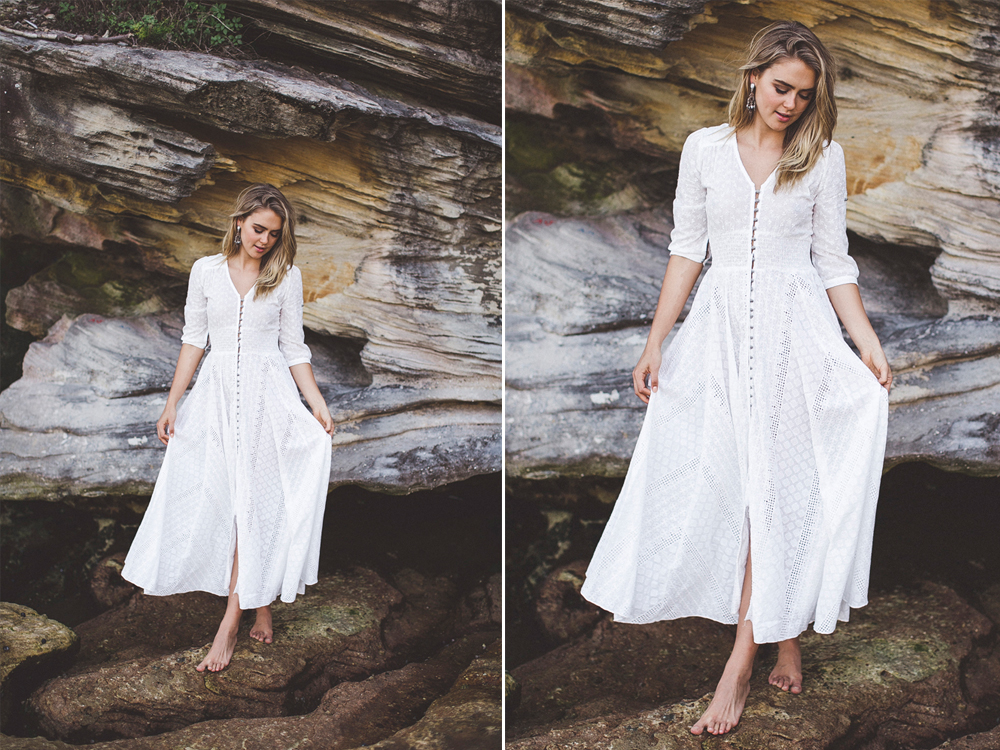
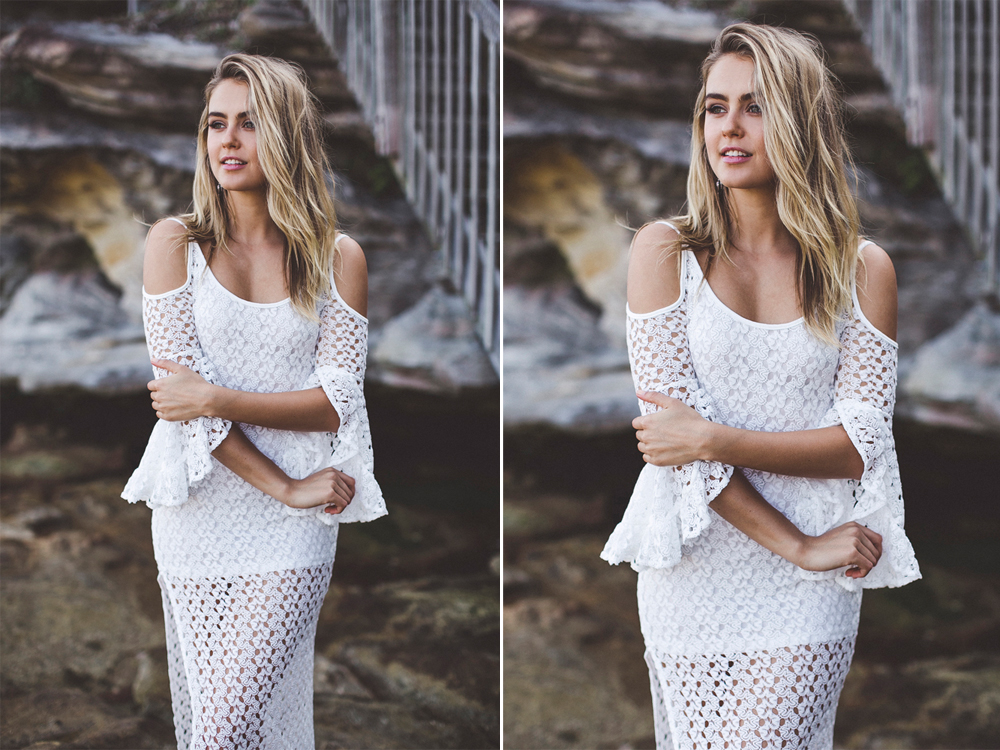
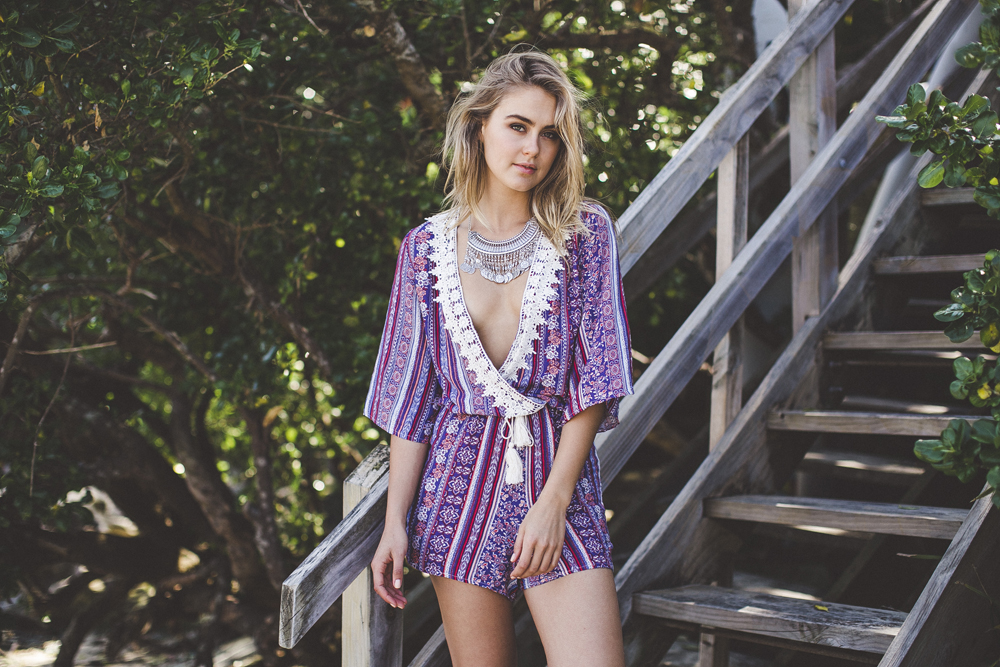
When cropping images for a lookbook, each client has their own preference on how they want the final images to look. Once again discuss with your client what they want and crop your images accordingly. As you can see in the example images above, the full body images are cropped in 2x3 ratio with a little bit of space just above the model's head and just below her feet. In the close ups, the image is also cropped at a 2x3 ratio, also with just a small amount of space above her head and cropped just above the knee.
07. Final Export // Once the cropping process has finished, it's time to export the images one last time. Use the same settings as mentioned above in order to export the highest resolution images possible. These are the final images that you can upload for your client!
All the photos from this lookbook were edited with The Wedding Collection Lightroom Presets!
A blog post with all the final images is coming soon!
Please subscribe to our channel! We release 2 new videos a week including Lightroom Tutorials, Photoshop Tutorials, Digital Film Preset Features, Fashion Shoot Behind the Scenes & vlogs!
