Every week I will get a few emails in my inbox asking similar questions. Some of the emails I receive (which will soon turn into blog posts) are people asking me how to keep motivated as a photographer and how to always have inspiration to take photos, what equipment and settings I use to shoot particular things, how to get a large team together to shoot, where to find clients from, and the list goes on and on!
Today however, I want to answer how to create your portfolio.
First I'll start with what a portfolio is, why you need a portfolio and what you will use it for.
A portfolio is a collection of your creative work to showcase your skills, either in print or online. For the sake of this blog post though, I will just be talking about online portfolios, specifically photography portfolios. You want your portfolio to contain only your best images. Even if you only present five or ten photos, a small amount of amazing photographs will always be stronger than thirty so-so ones. It is always important to not make rash decisions about what photos to put on your website, I feel it is a common misconception that making an online portfolio is something that happens overnight.
PICKING THE PHOTOS
Before you start deciding what photographs you want to display in your portfolio, you need to decide what sort of photographer are you. Who are you trying to market to by putting your work online? Who do you want to contact you when they go on your website? Are you a fashion photographer? Music photographer, wedding, landscape, portrait photographer? Once you are clear on how you want to portray yourself to the world, then you can start putting together a collection of images.
I would start off with creating a folder on your desktop titled "Portfolio Feb 2011", or whatever month and year it is. Then go through every single folder of your photos and copy and paste any HIGHRES and FINISHED pieces of work that have potential to go on your website. At this stage you don't need to worry too much about your final ten, this is so you can compare and cull down from a large amount of photos. Once you have your folder of images with absolutely anything you could image being part of your website, open up the folder in a program where you can easily see large versions of each image such as in Adobe Bridge or Lightroom.
It is here where the culling process beings.
I would start off by going through every picture one by one imagining you are a potential client, and trying to see how they would react and think about every individual photo. Delete any that you have any slight doubt about (make sure they are the copies you are deleting - not the originals!!). Once you get down to a smaller amount of pictures (I'd say about twenty), have a look at how they look like as a whole. Bring them all up on the screen and see if any look weaker when they are put up with the others, delete any that do. If there are two or three that look too similar to each other, put them up next to each other and get rid of the weaker ones as well.
By this point you should have a very strong ten or so images that are ready to go online and represent you. Remember during this whole culling process to keep in mind how you are trying to represent yourself as a photographer. If you are marketing yourself as a portrait or fashion photographer, there is no point in putting up landscape pictures from your latest trip to the beach as pretty as they may be. Be very strict with yourself, and keep in mind that even if there are some photos you love, if they don't fit in with what you are trying to show, you can always upload them to other websites such as flickr or your blog.
ONLINE PORTFOLIOS AND DOMAIN NAMES
There are plenty of free and paid websites that host portfolios. I find this the better option than to spend hundreds of dollars on a web designer. While you may have a very unique and different website if you go with a web designer, at the end of the day, it doesn't matter how flashy your website is (in fact, the more flashy sometimes the more annoying), it is the photos that your clients are interested in.
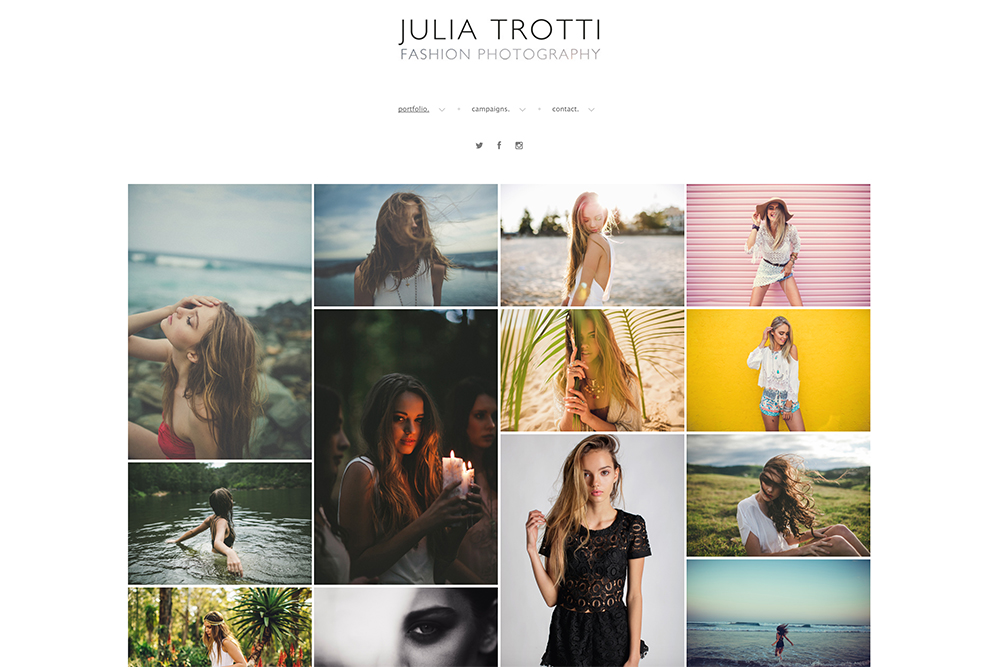
When singing up with an online portfolio hosting website, make sure that you can use them with your own domain name. When I started looking online for a place to put my photographs, I went through plenty of websites before I finally found Viewbook. At first my domain name was www.jtrottiphotography.viewbook.com. After a while of writing down my website, putting it in emails, telling it to people, I realised that the name was too long, the .viewbook was too much of a nuisance to write and to explain in person and it wasn't very searchable in Google, since the majority of people would search for my full name "Julia Trotti" rather than "jtrotti".
It was by this point I decided it would be a good idea to buy my own domain name "www.juliatrotti.com". I put it off for a little while, but as soon as I started looking around for a place to buy it, I realised it wasn't half as hard as it looks. I eventually decided to go with www.godaddy.com to host my website name.
Once I bought www.juliatrotti.com Viewbook has a very simple function to be able to change the www.jtrottiphotography.viewbook.com to www.juliatrotti.com at literally the click of a button.
PUTTING YOUR PHOTOS ONLINE
Now its time to put your photos online. Do the photos you chose need to be in separate folders, or do they all fit under the same category? Upload them and go through them a couple of times, are they in the best possible order they can be? Play around with their sequences. I like to start of with a very strong image from a strong series, then put a a few really good photos, and another strong one in between.
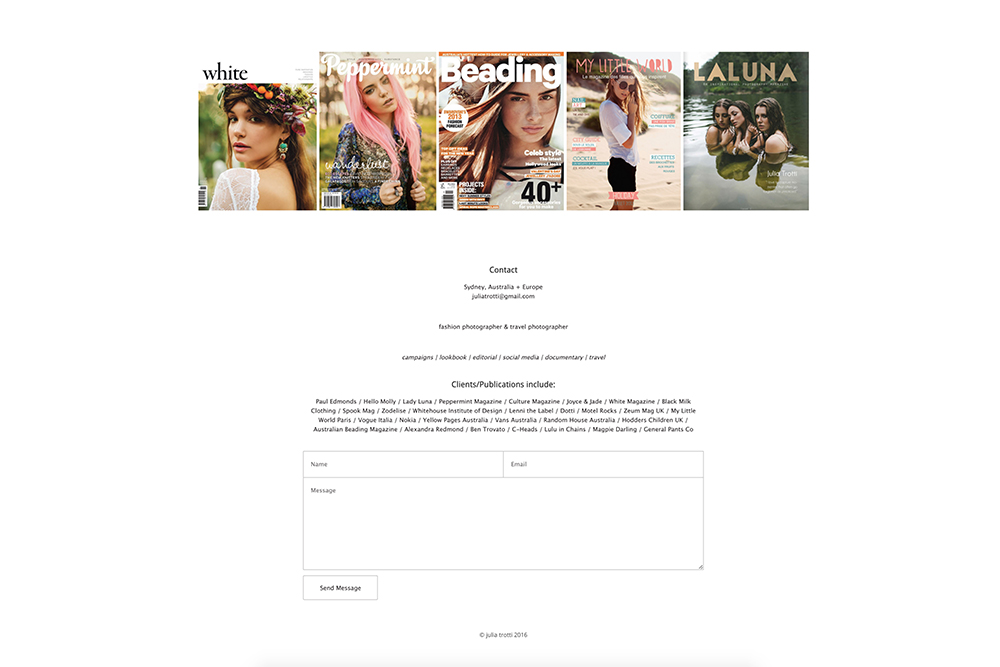
It is important to play around with the layout of the overall website as well, the colour scheme, do you have a logo you can upload for the header of the page? Spend some time writing a bio for the about me section, clearly stating what you photograph and what you would like to photograph. One very very important part of your online portfolio is to make it easy to contact you, put your email address very clearly, or any other means you want people to contact you as well.
Personally, I have my email address first, then my phone number (include the area code so potential clients from overseas can call as well). Always be careful when putting your phone number online though, especially if you are still a young photographer.
