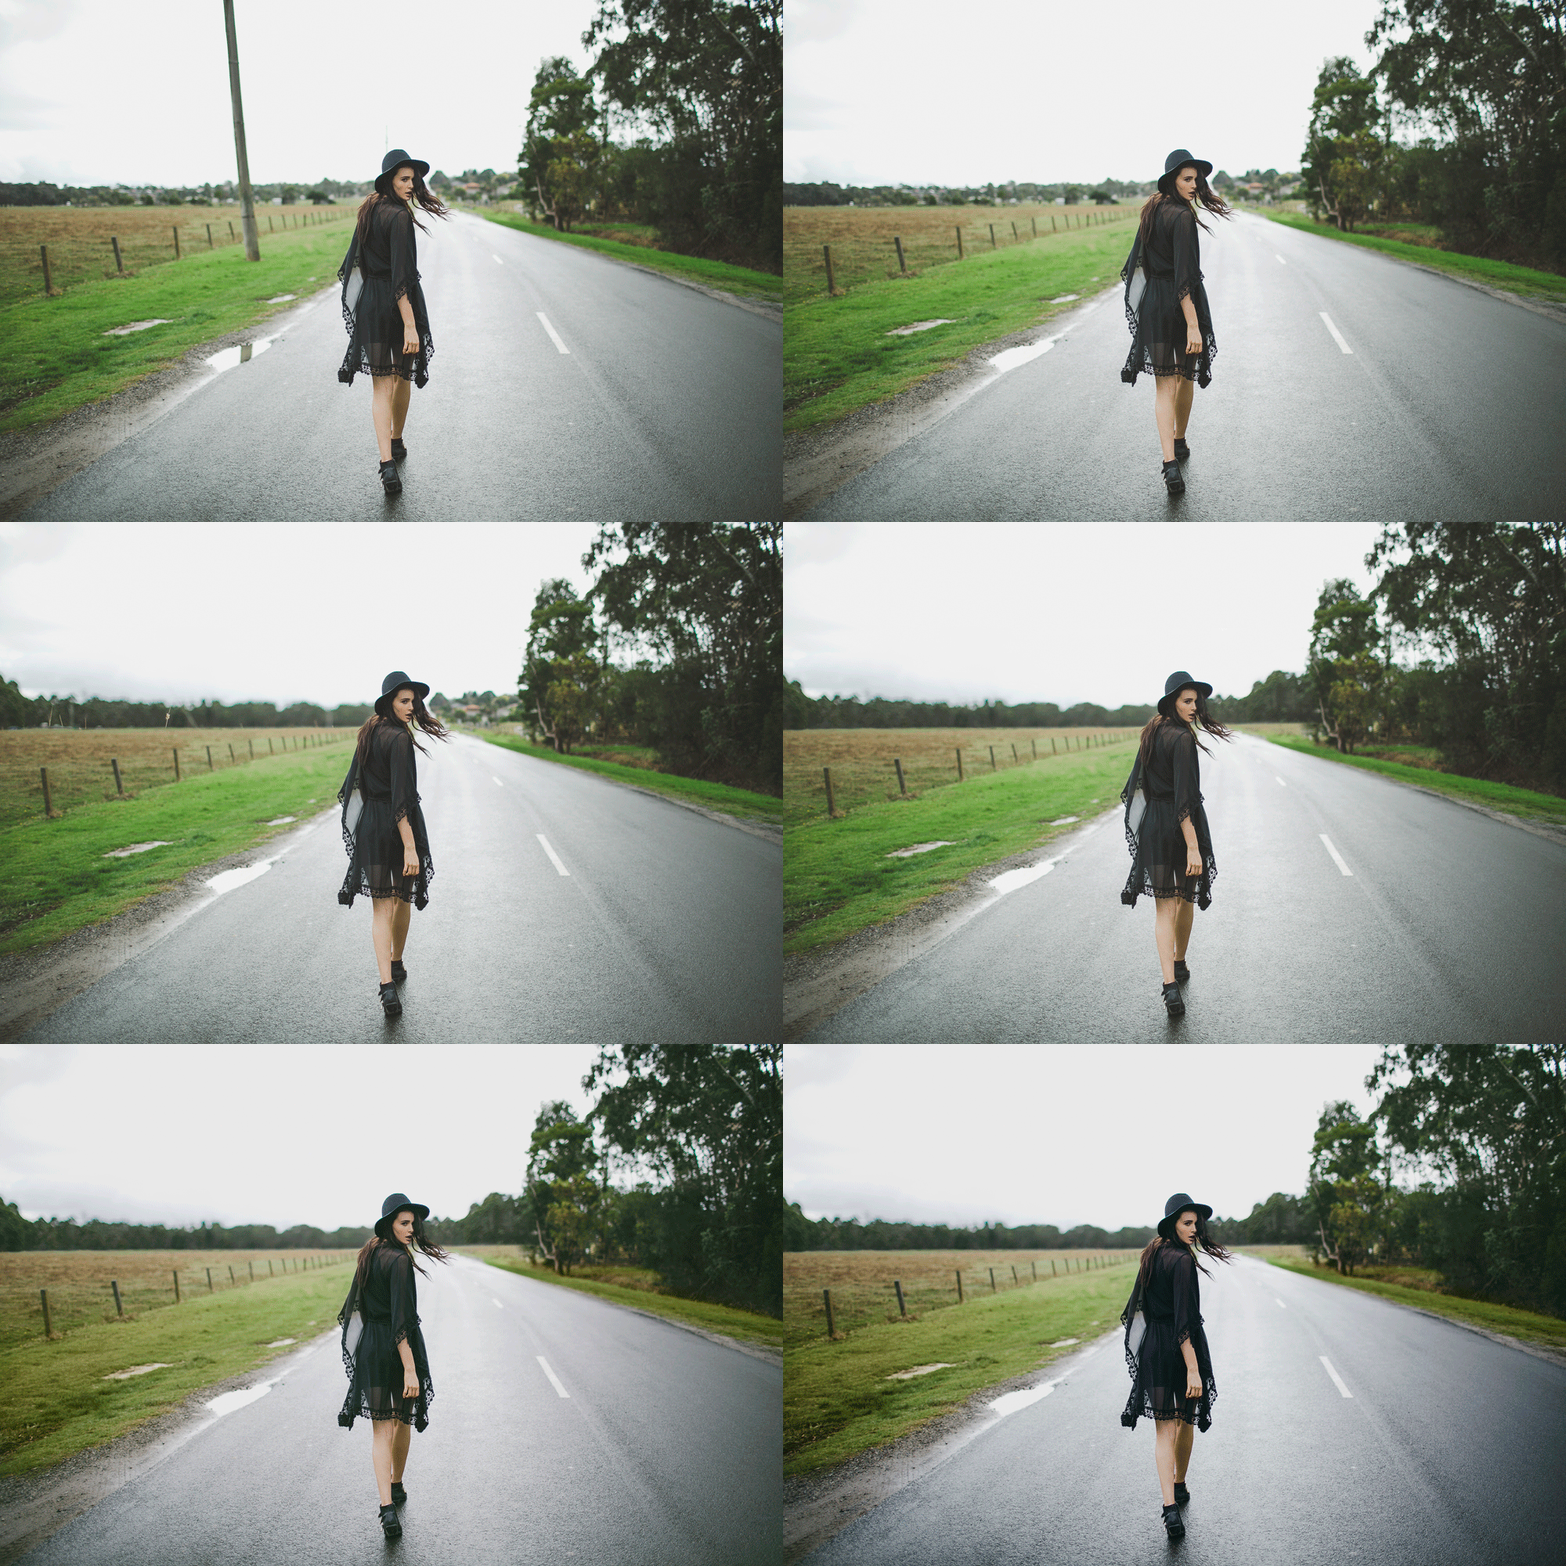
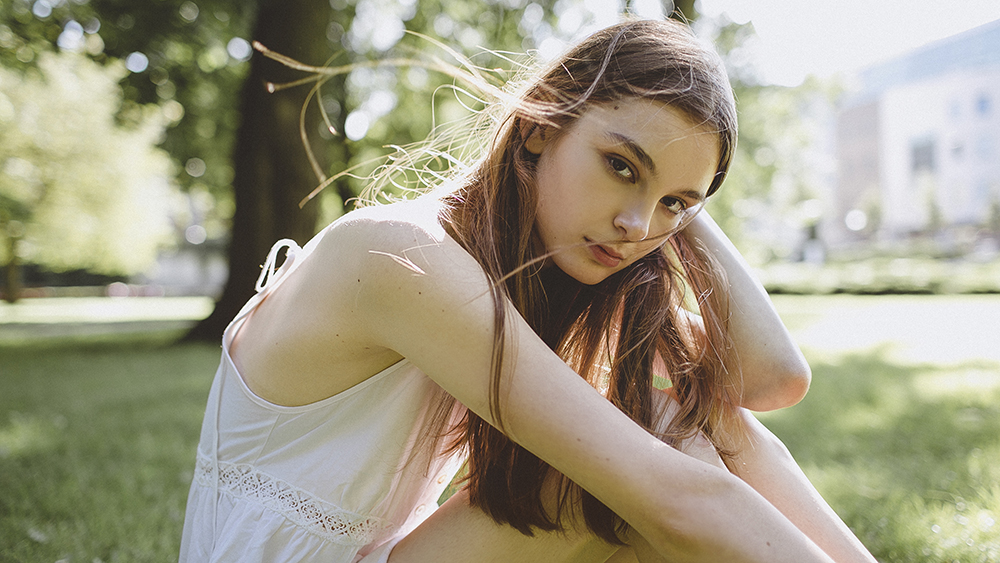
In this tutorial, we are going to take a closer look at achieving the effects in the above speed editing video. Taking a look at the original image, there were many distractions in the background of the image that detract your eye from the overall photo. We're going to take a closer look at the tools and techniques you can use in Photoshop to remove these distractions, which can also be applied to many other scenarios in different photographs.
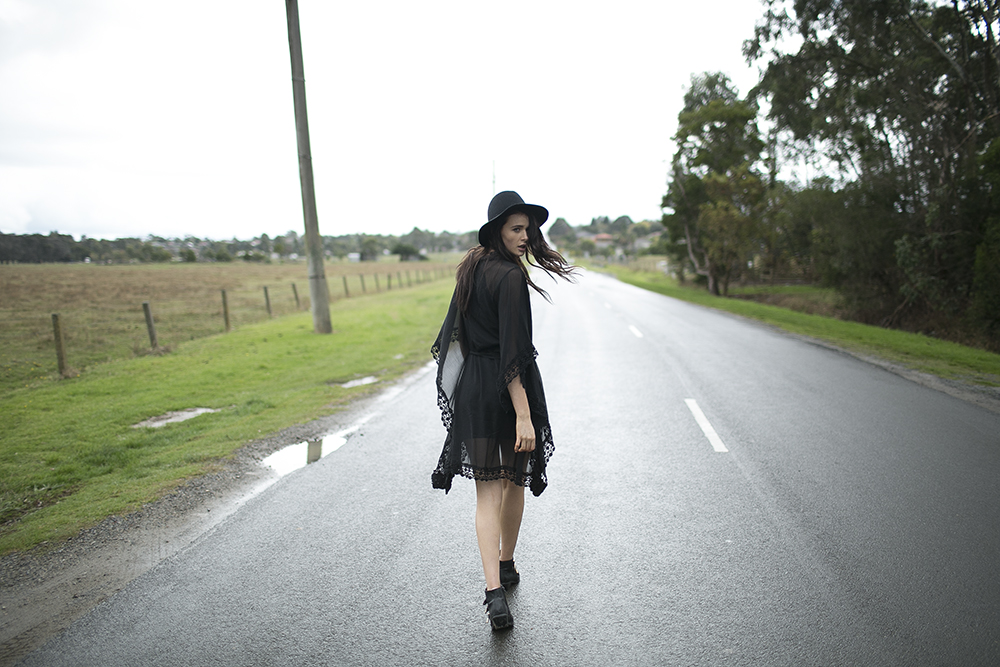
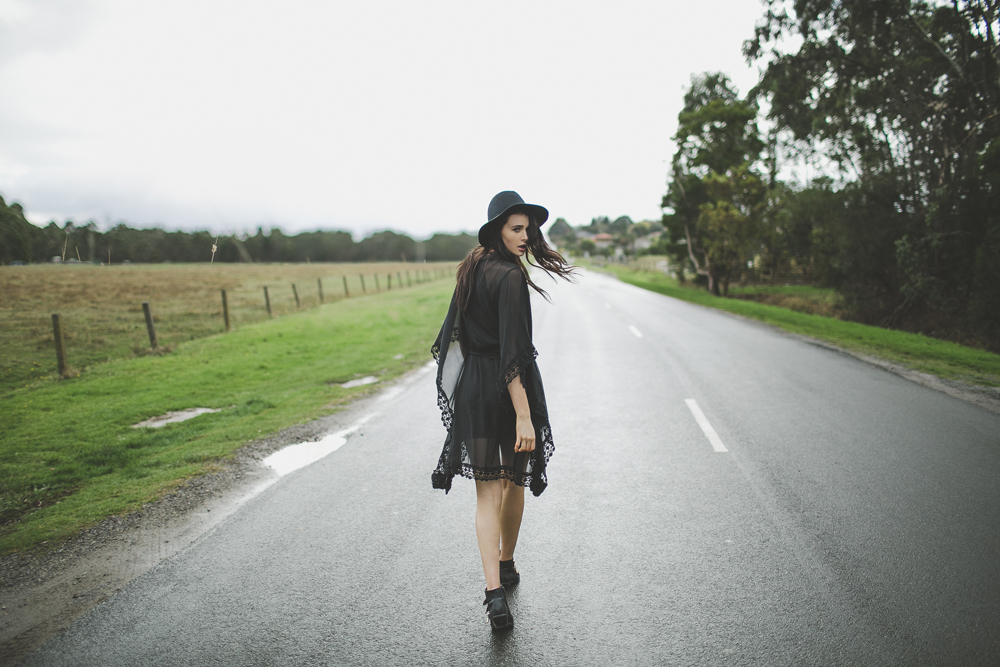
01. Original Image // This is the original image straight out of the camera with no editing done yet whatsoever. The first thing I do is open my image in Lightroom, apply the Disposable Film Lightroom Preset and open it in Photoshop.
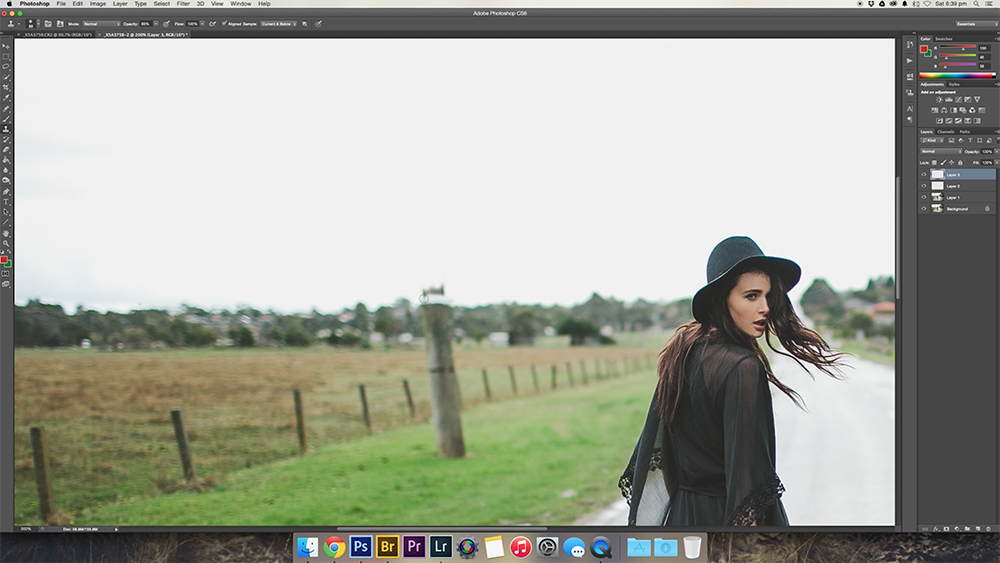
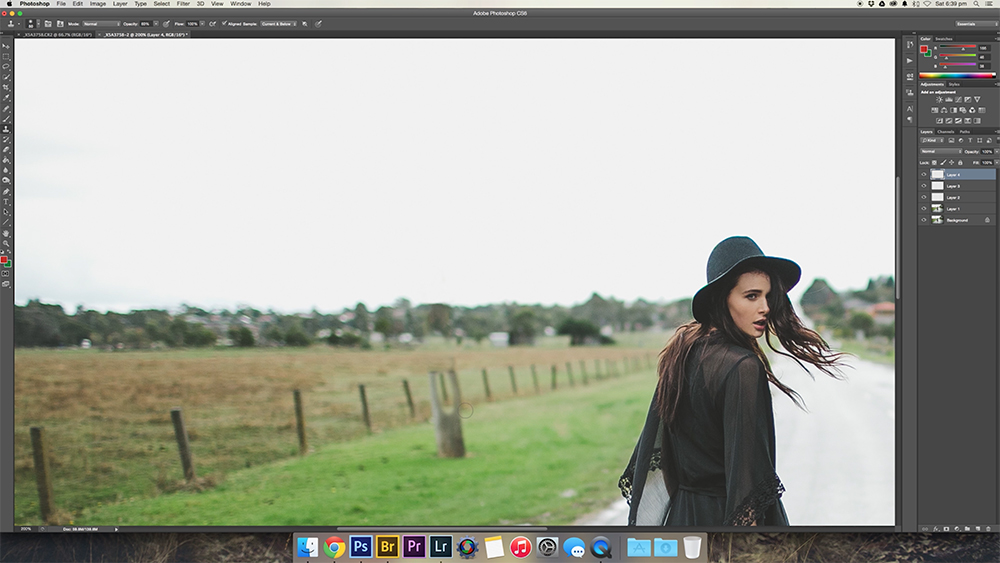
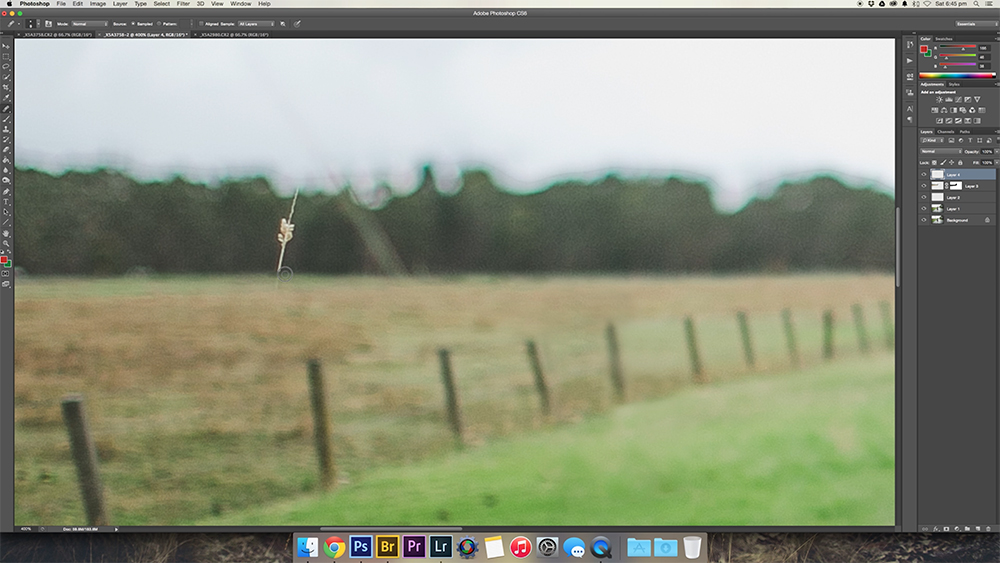
02. Easy to remove // The first step is to remove the biggest and most simple distractions in the image. In this case, we're going to be removing anything against the white sky first including the light post and little antenna behind the model's head. To do this, use the Clone Stamp Tool in Photoshop by selecting it in the left Module menu or pressing the shortcut "S". While removing objects from a one colour background, simply leave your Clone Stamp Tool at opacity 100%. While holding the Alt key, select a spot in the white sky for the Stamp Tool to sample from, then begin brushing over the objects that need removing.
When you reach a more detailed area such as when the light post starts meeting the tree line as shown in the image above, start sampling your Clone Stamp Tool from a similar part of the image with the same texture.
03. Difficult areas to remove // While removing objects from a single coloured background area is fairly simple, removing distractions from a textured and detailed area is going to take more time. We're going to continue using the Clone Stamp Tool, but this time bringing down the opacity of the brush to about 50 - 70%. Once again, you need to select a sample area for the Clone Stamp Tool similar to the area you need to brush over. In case of the tree line, I selected a sample area that was also from the tree line. While removing the light post from where the fence is supposed to be, I selected a sample from a different fence post and brushed it into where the post was covering it. Then at a low brush opacity, I blended in the edges of the grass. You should now have a fairly clean image!
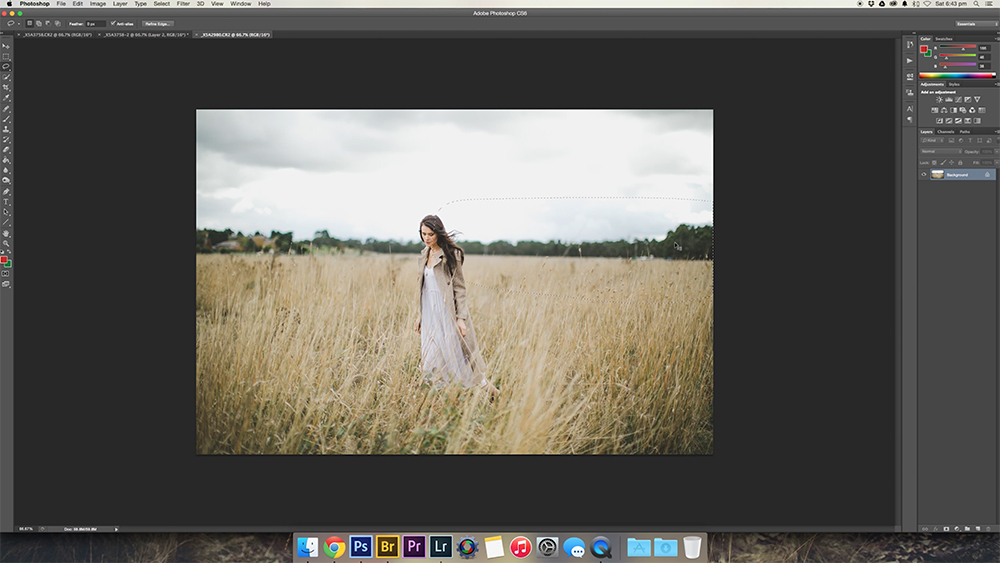
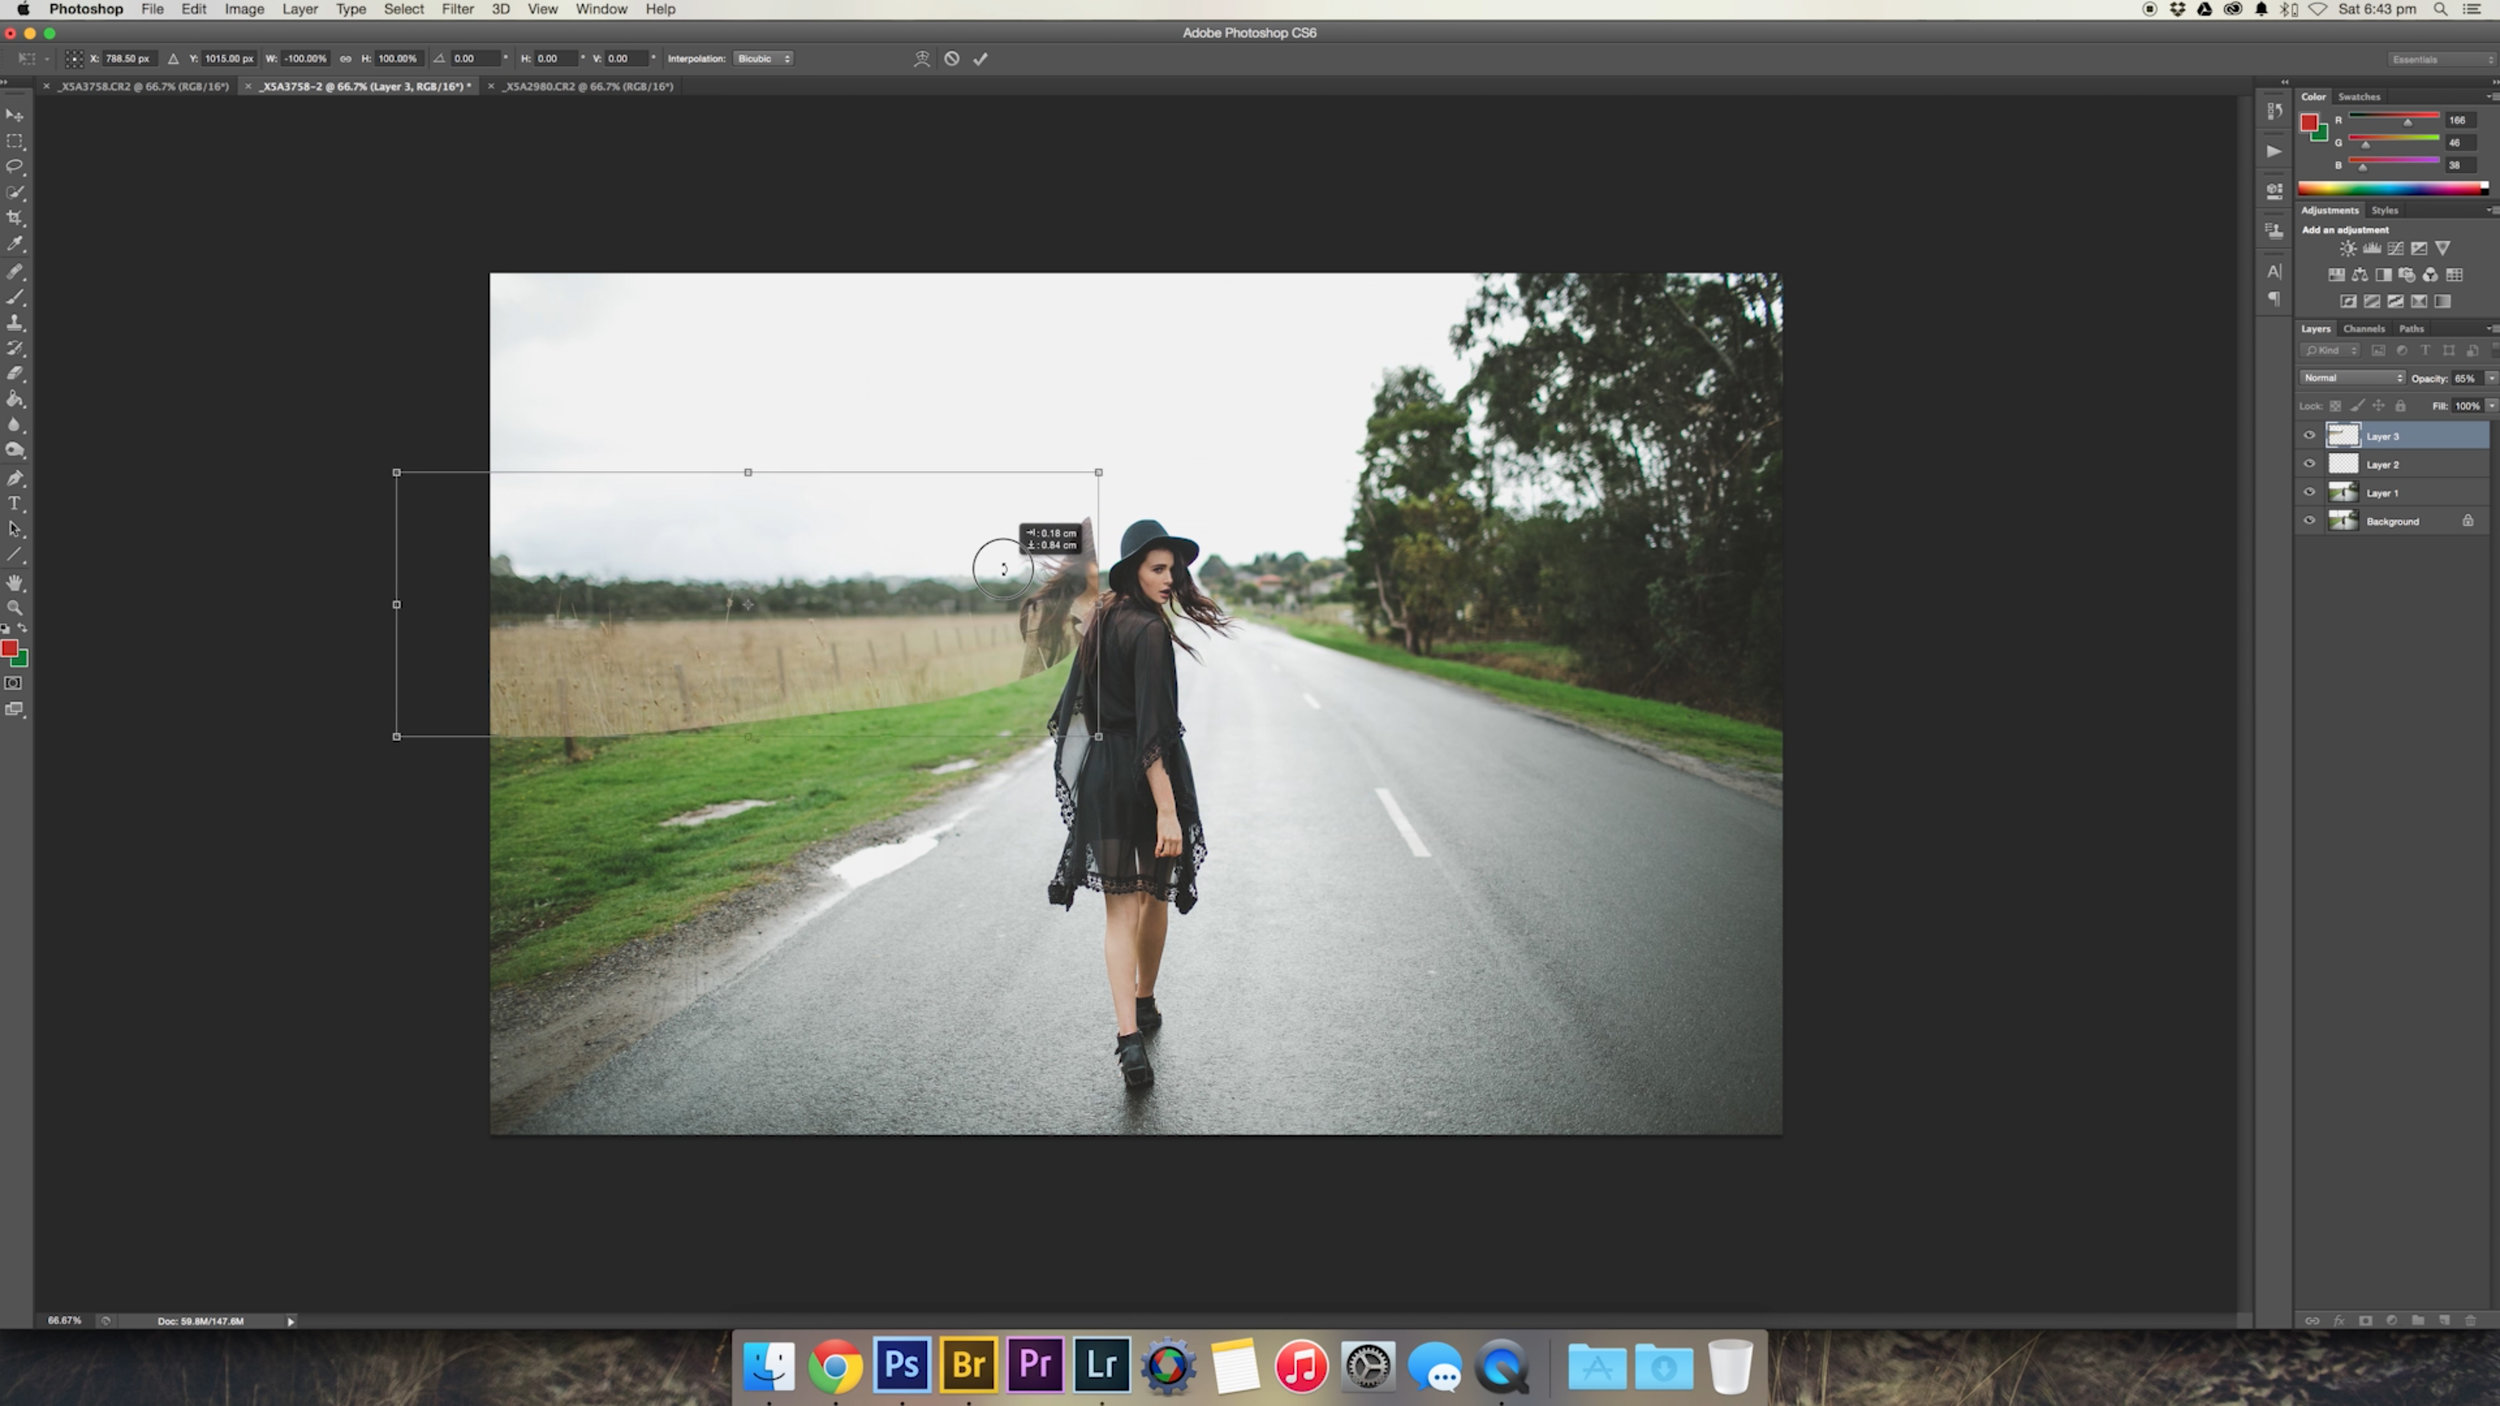
04. Smaller distractions // Once you remove the more obvious distractions, sometimes the eyes are drawn into something new in the image. In this case, the background was still very busy with my eyes being drawn into the bright houses blending in the horizon. I opened a different image from the same series with a clean horizon line and used the Lasso Tool to select the trees. I then pasted the selection into the image, lowered the opacity of the new layer to 30% so I could see what was behind it, then used the transform tool to make the trees line up horizontally and adjusted it to be the correct size.
05. Working on the new section // In order to make the new horizon line to blend in with the image, we need to do a little work. I created a layer mask over the new horizon and brushed out any unneeded sections of the image with a 100% brush. Once you do this, you may need to readjust the new horizon line into it's final place by moving it up or down or using the Transform Tool to adjust the angle. The next step is to use a mixture of the Healing Brush Tool and Clone Stamp Tool to remove any sections of the new horizon that don't fit in with your image, in this case, I need to remove any of the blurred or in focus tufts of grass poking out of nowhere. I use the Healing Brush Tool to remove any sharp details in the image and I use the Clone Stamp Tool to remove any large blurred details in the image and also to blend out any unfinished areas.
I then followed the entire same process to fill in the horizon to the right of the model, where there were also many distracting objects in the background.
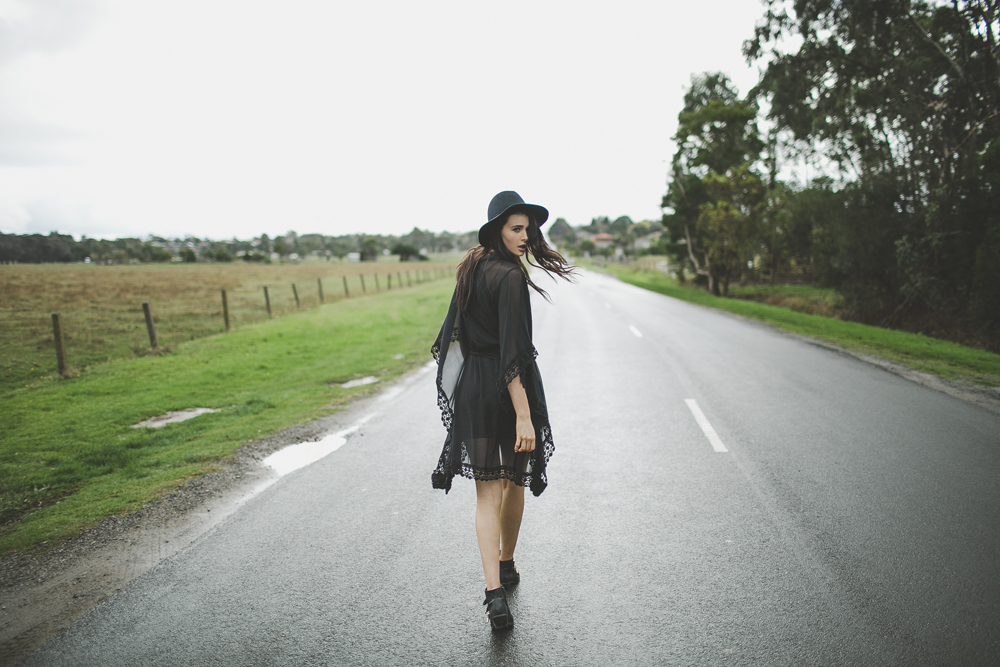
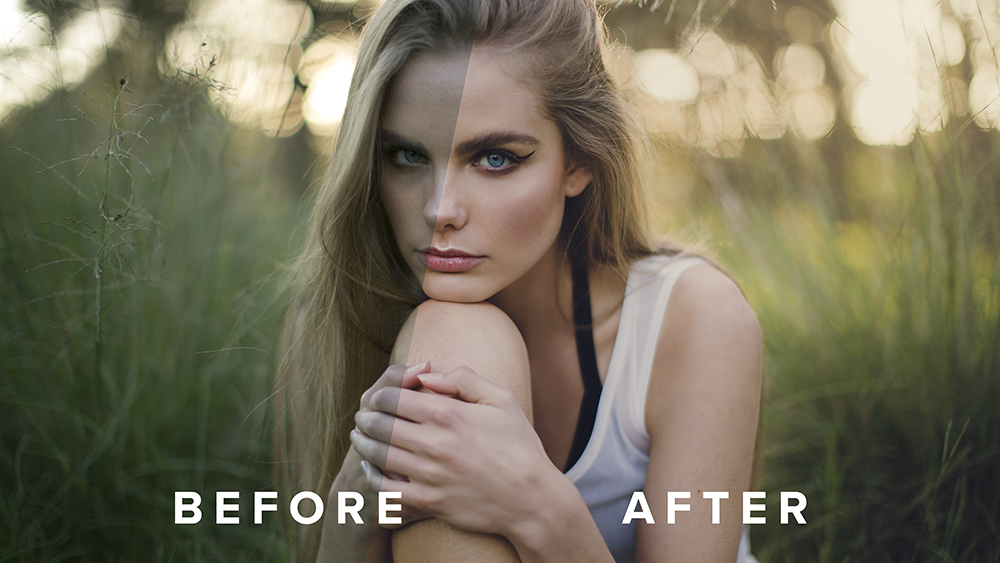
06. Colour Grade // Once I am happy with my final image, the last thing I tweak are the colours. I first colour grade the image in sections. I use the Lasso Tool to make a selection around the model as well as the road, set the feather to 200 and use the RGB Curves tool to increase the contrast and tweak the colours.
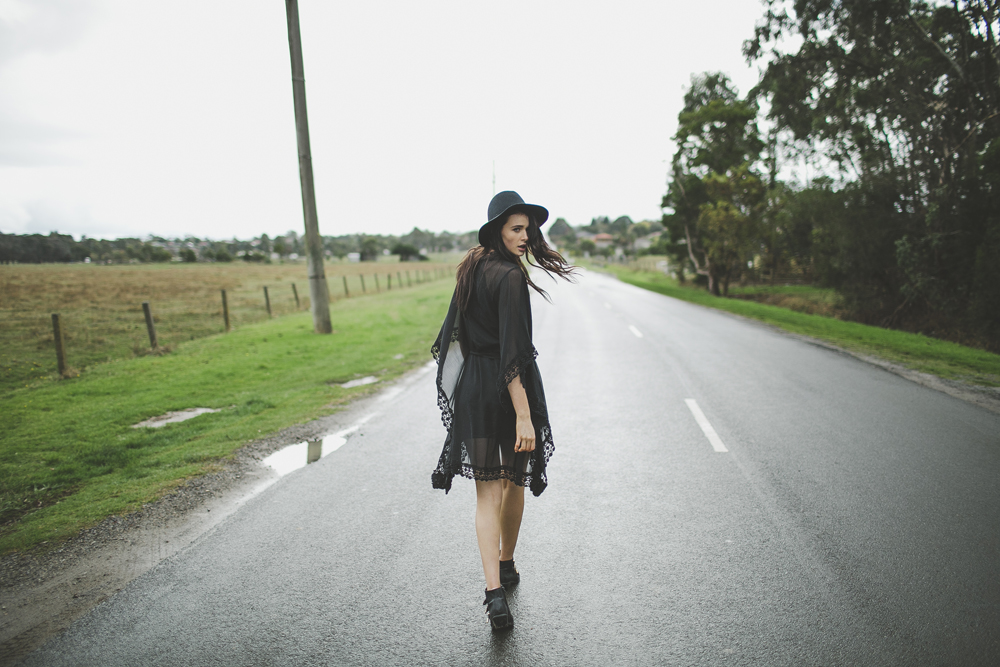
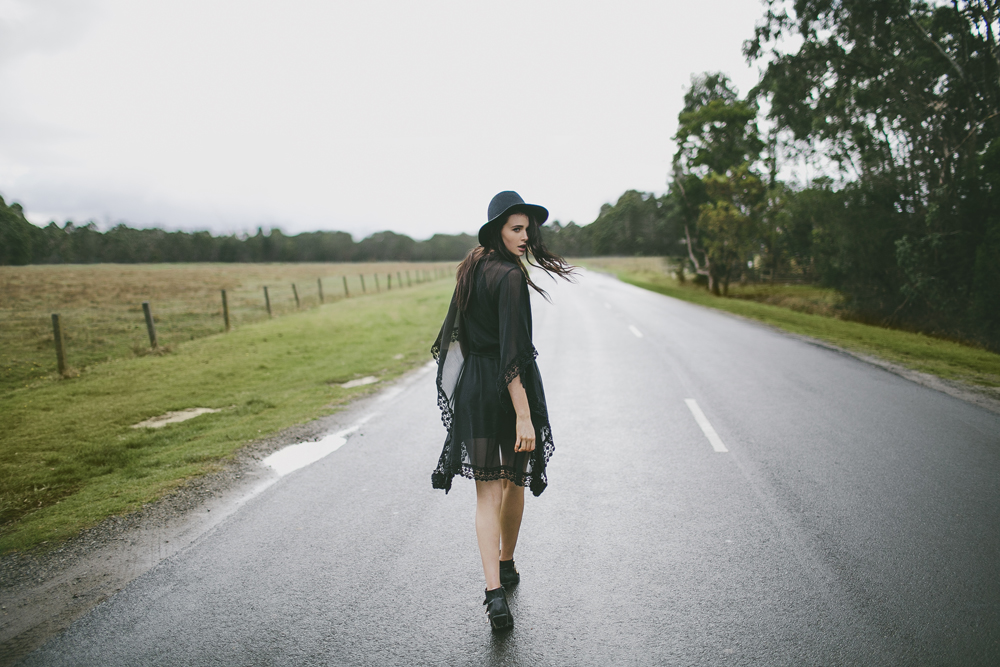
The bright green colour of the grass was a small distraction in the image, so I create a new blank layer and set it's blend mode to Colour. I then use my Brush tool at an opacity of 20%, select a sample of the brown coloured grass and lightly brush over the green sections of grass to desaturate the colours. The final step is to then create one last RGB Curve layer to colour the image overall and we're finished! This is the final image below:
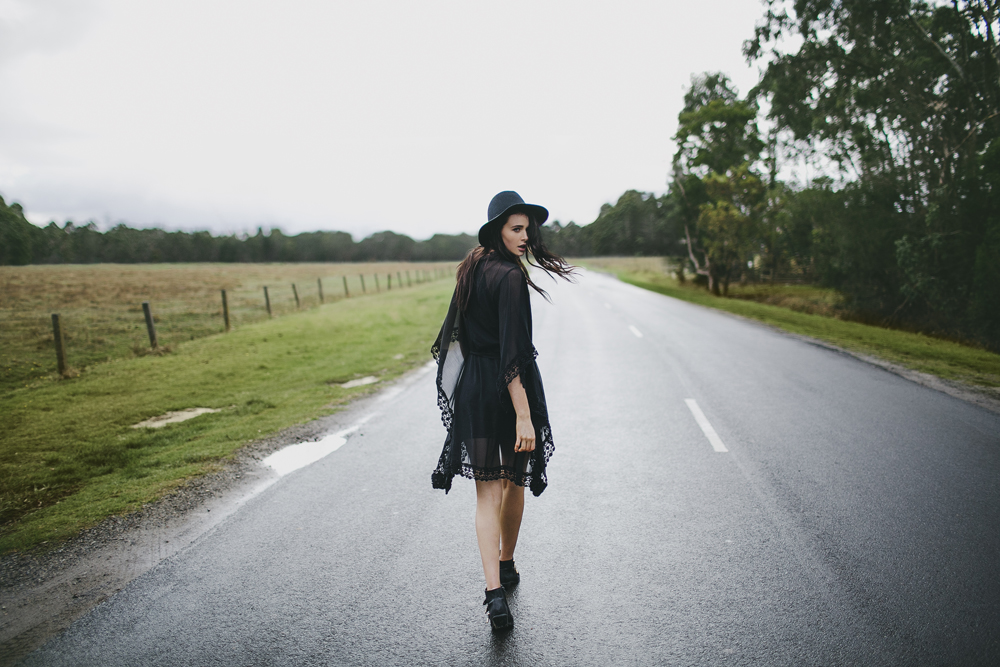
Once again, I thought it would be fun to make a GIF of all the process images I saved from creating this image!
Please subscribe to our channel! We release 2 new videos a week including Lightroom Tutorials, Photoshop Tutorials, Digital Film Preset Features, Fashion Shoot Behind the Scenes & vlogs!
