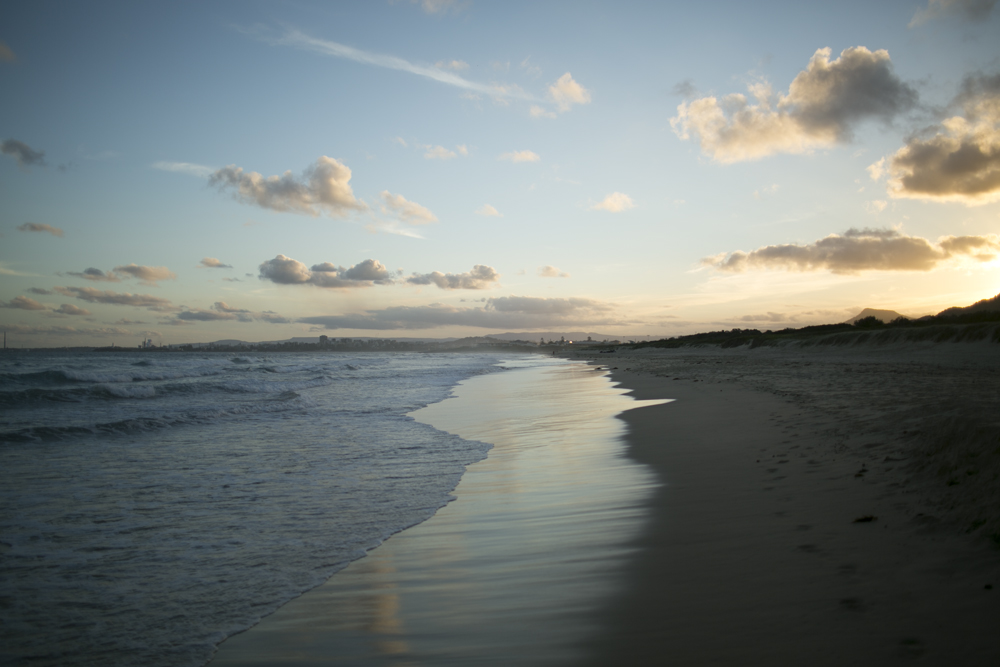
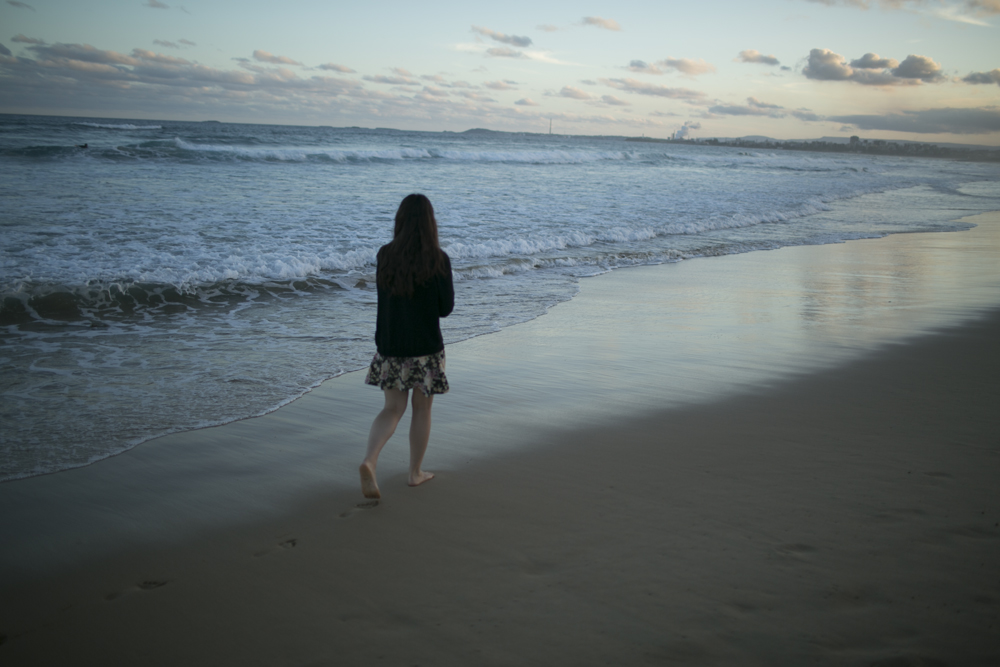
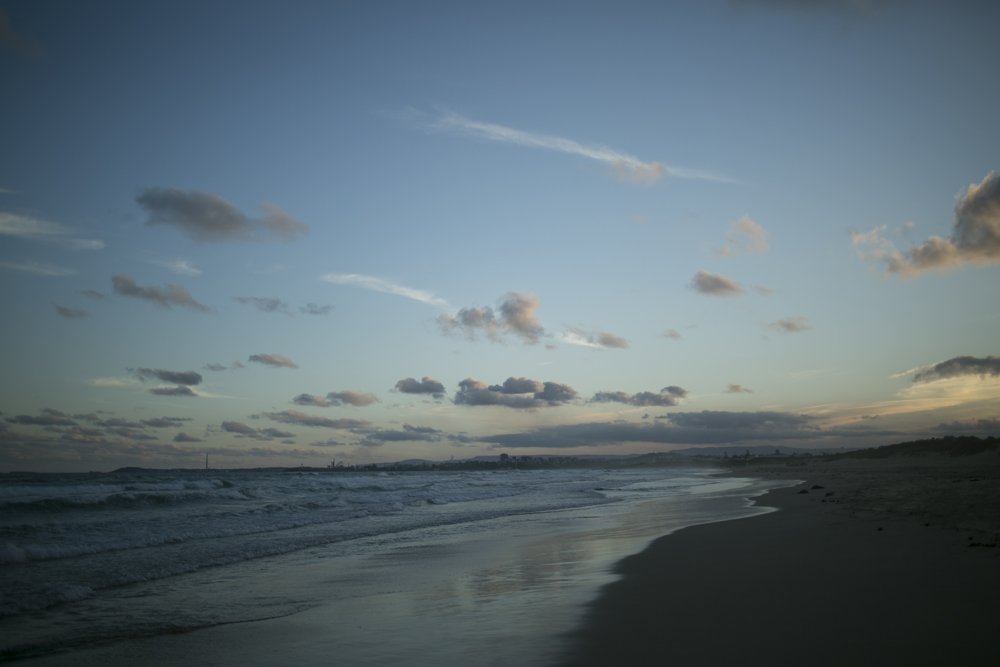
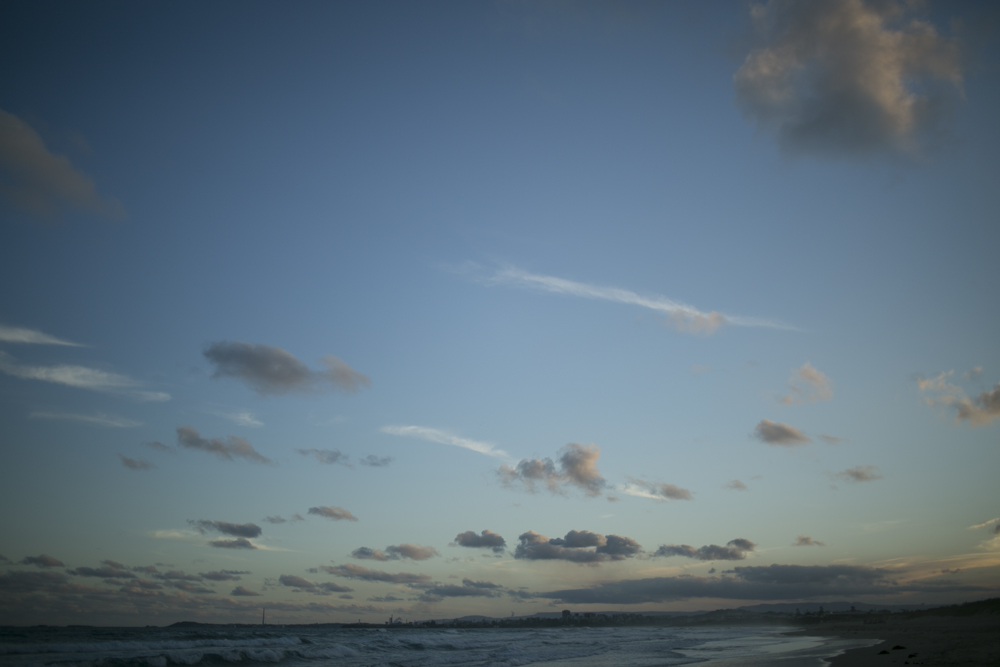
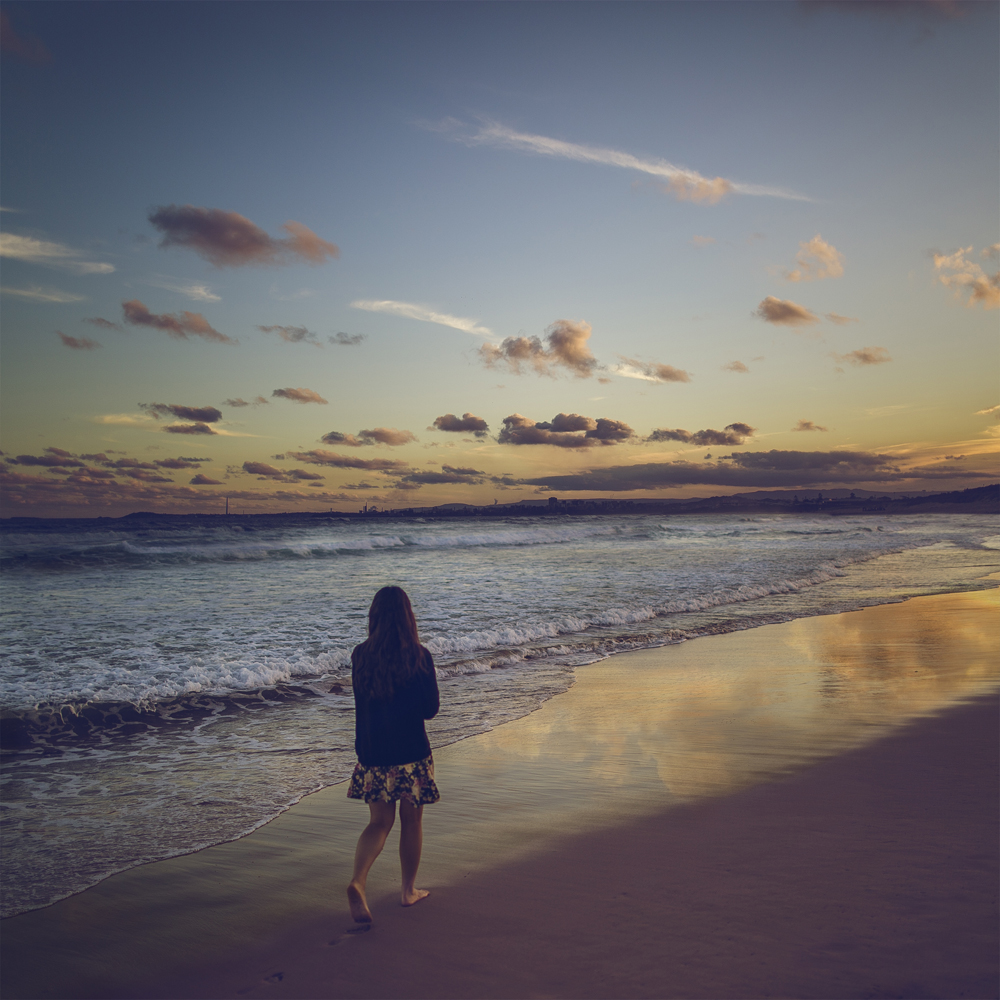
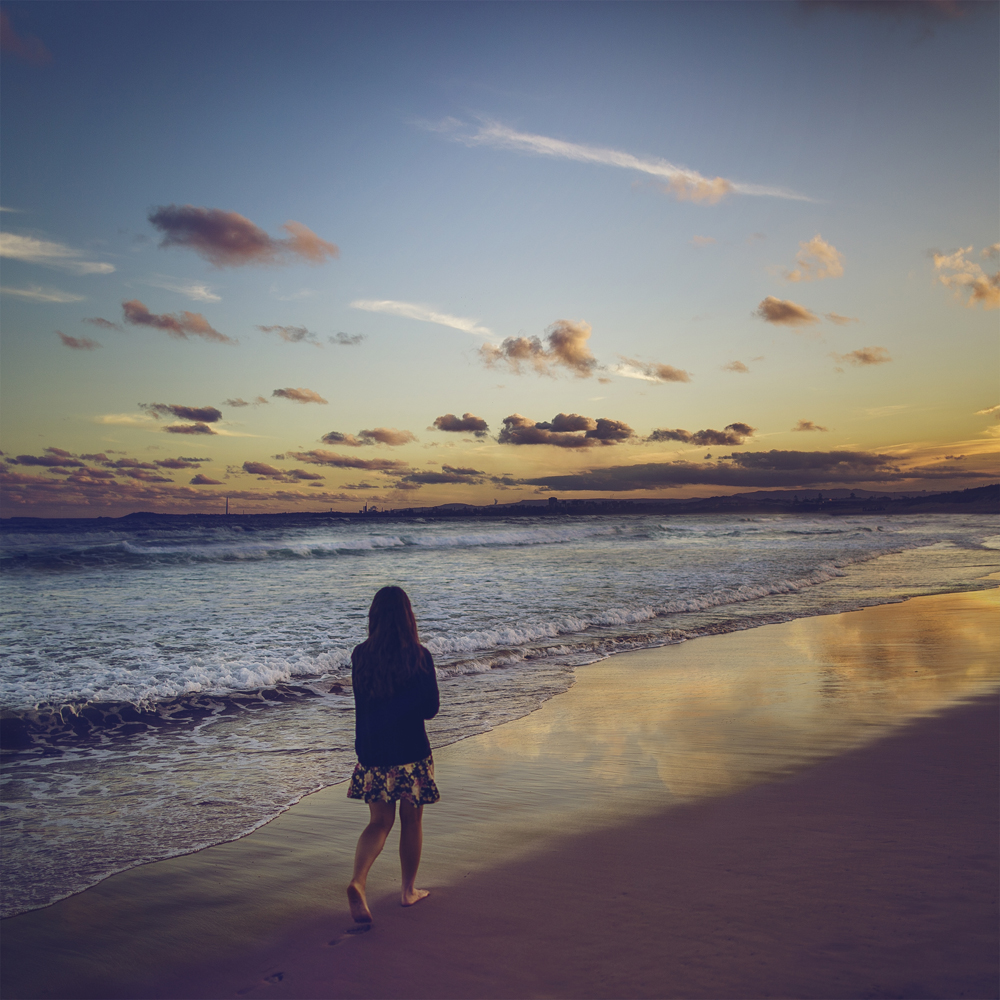
In today's tutorial, we're going to take a closer look at this speed editing video and go through each of the steps carried out in Photoshop to create the final image. Below are all the original images used to create the final photo, scroll down to read the rest of the tutorial!
01. Original Images // Similar to a few of my other Photoshop Image Expansion tutorials, I did not shoot this image with the intention of creating an expansion from it later down the track. Instead of having thought out extra photos from the main photo to be able to select from to expand my photo, I only have random photos that I also took of the landscape that same day. The first step in this expansion process is to go through all your images and select which ones you think you might need for your edit.
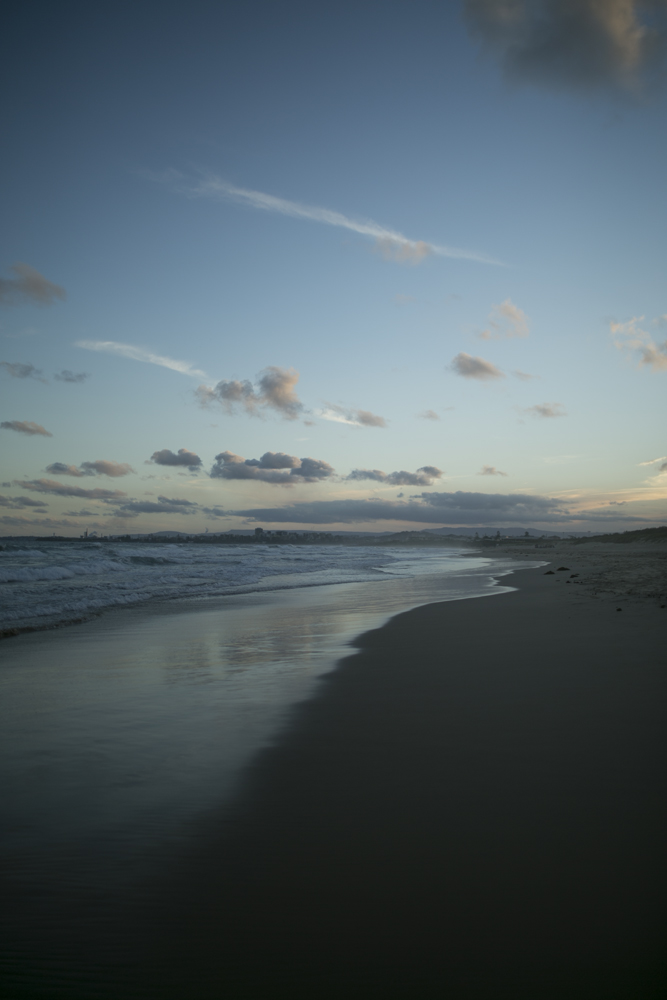
In this case, I selected a photo with a subject in it for the main focal point of the edit. I also then selected one photo which included an even spread of ocean and sky, a photo which prominently featured just the sky, a portrait orientated landscape photo and a photo that featured more of the shoreline reflection. You can see all the original images I selected above.
02. Lightroom // Once I have selected my images, I open them in Lightroom to colour grade. Due to the golden hour glow and the nature of this image, I wanted to give it a pop of pastel colours so I applied the Lovestruck Lightroom Preset to all the final images I intend to work with.
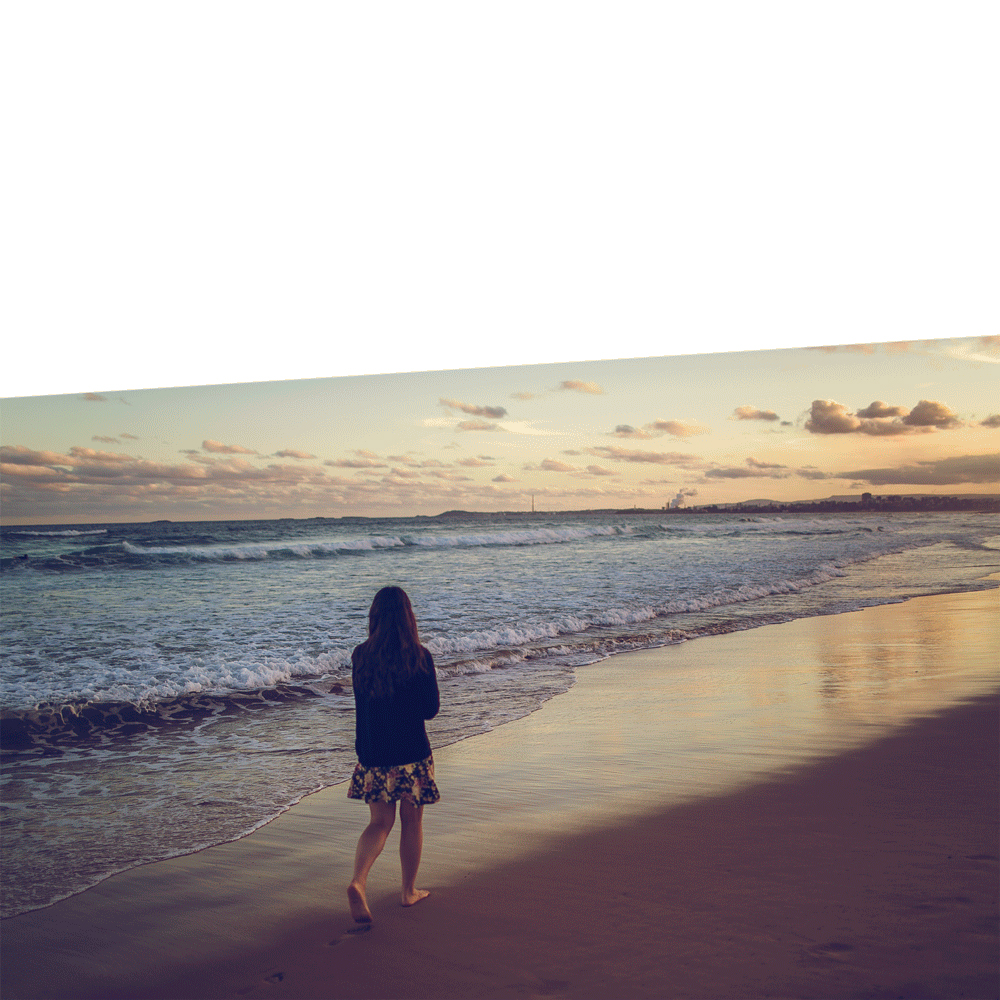
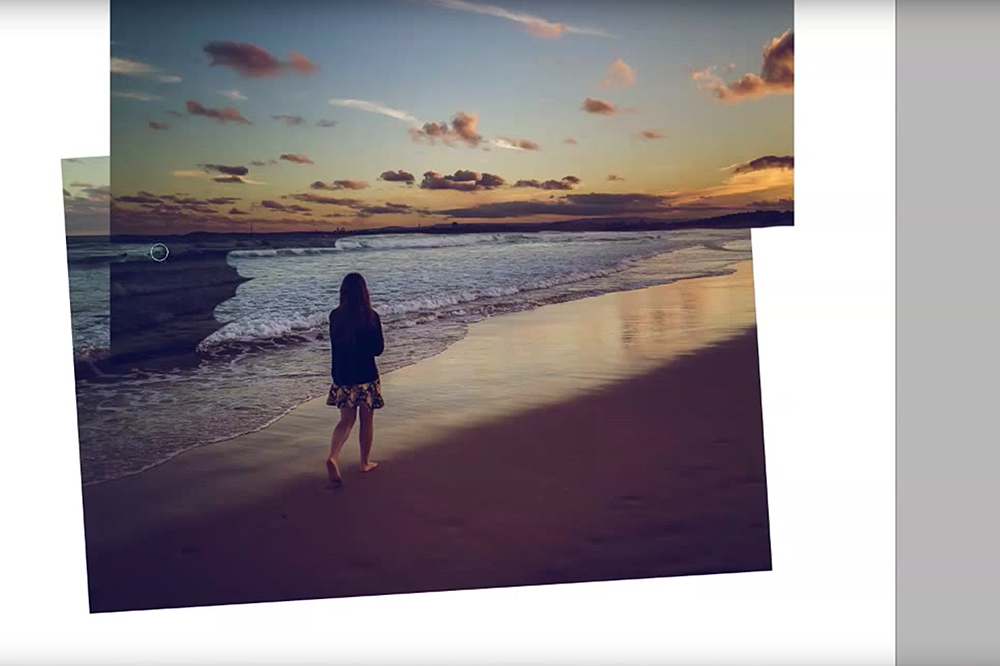
03. The First Layer // I open the main image I want to work this expansion from in Photoshop, in this case the photo with the subject walking, and crop the image outward into a square. I then use the Photoshop Transform Tool to adjust the angle of the photo so the horizon line is straight.
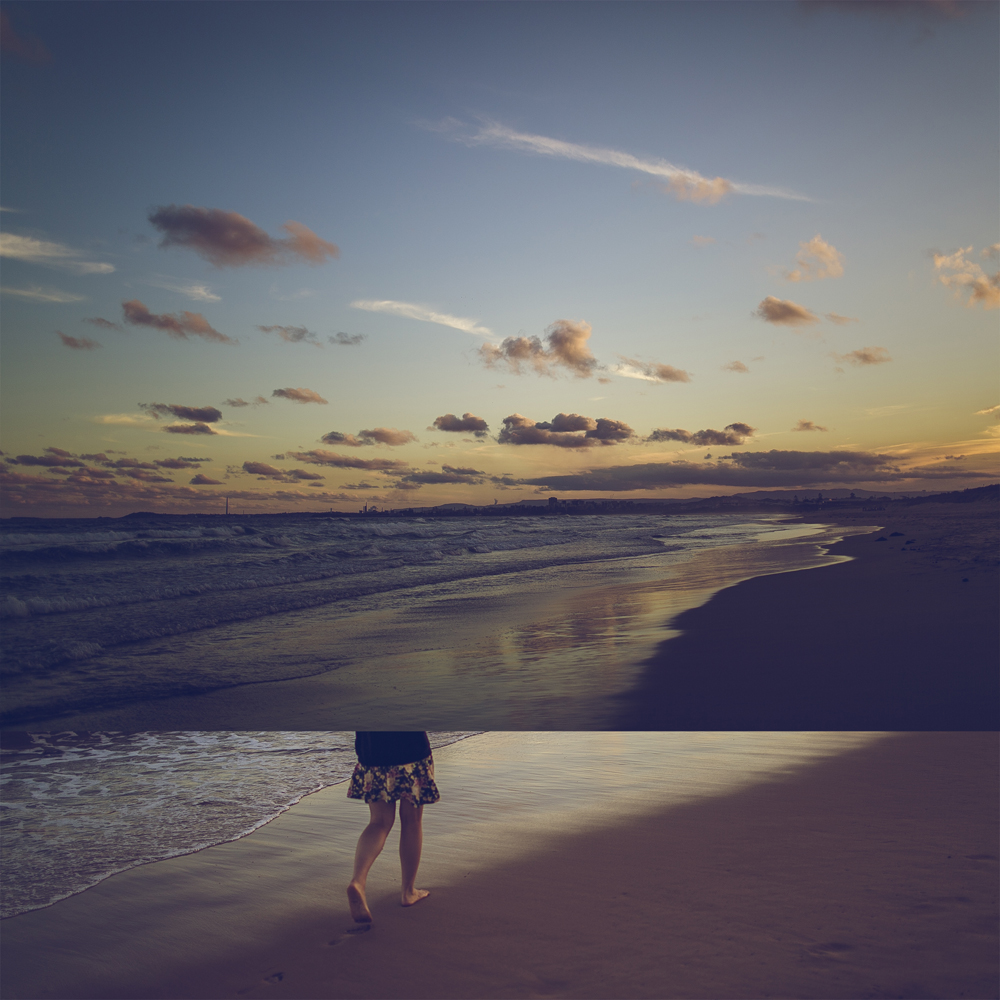
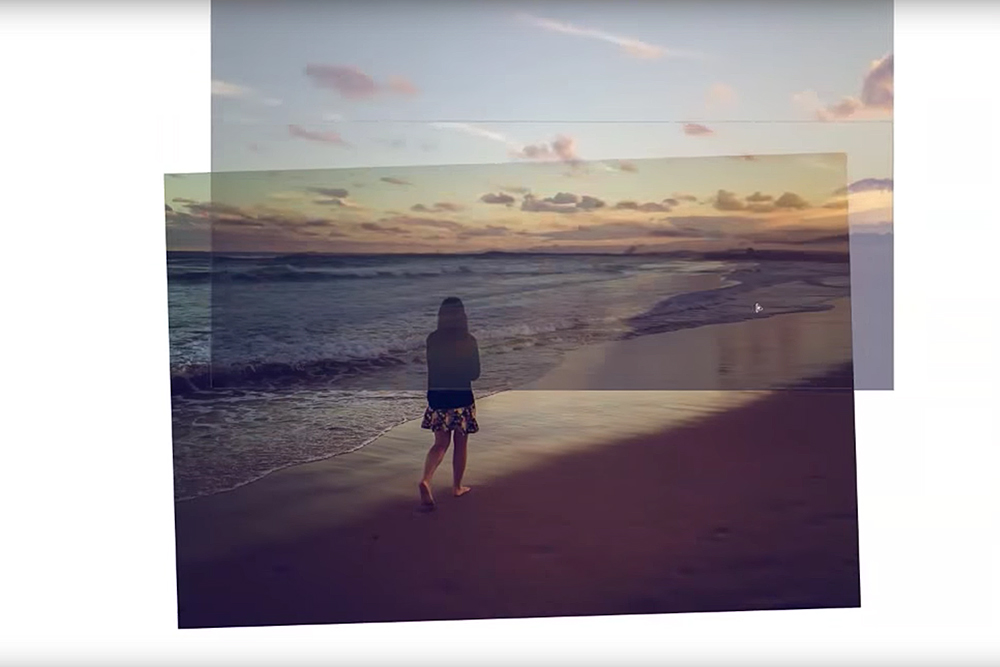
04. Adding the Sky // The next step is to fill in the missing piece of the expansion, the sky. I decide to go with original image 3 to do this as it was photographed at a similar angle to the image I am working on, and has just enough sky to fill in the expansion. I then pasted original image 3 into the expansion, lowered the opacity of the new layer to 30% so I could see what was behind it, then used the transform tool to make the horizon line up horizontally.
To blend in the two images together, I applied a layer mask to the sky photo. I then used a soft brush at 100% opacity to start removing sections of the ocean. Once I started getting close to the horizon line, I switched the opacity of my brush to about 20% to soften the edges of where the two photos of the ocean meet to help them blend in seamlessly.
05. Reflections // While you can already see a slight reflection of the clouds in the shoreline of the image I’m working on already, I wanted them to be more prominent to add a little extra sense of magic to the photo. Looking through the images I prepared to use for the expansion earlier, I decided to use original image 1 to get the job done. I loved the big, orange clouds this image had in the top right hand corner. I thought the fact that they were slightly lighter in colour and were overall softer than any other clouds I had available through my images would work really well in order to be able to make them seem like a reflection.
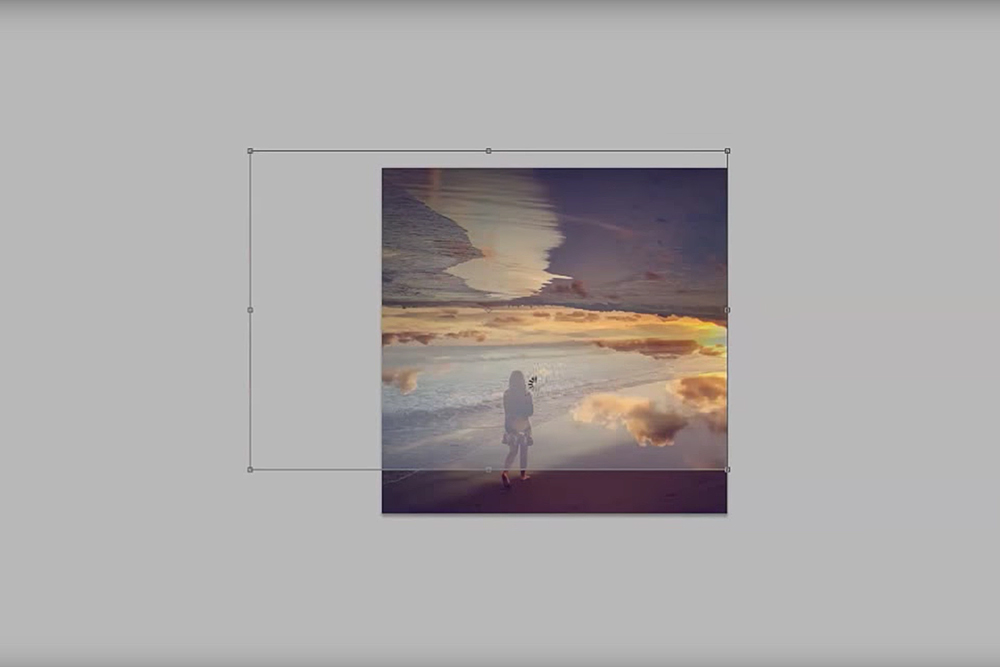
I imported original image 1 into my expansion and flipped the image upside down using the Transform Tool in Photoshop. A tip to be able to do this quickly is to select the layer you want to transform and use the shortcut Cmd+T (or ctrl+T if you are on PC). When the Transform Tool is in action, head to the top of the Photoshop Module where you can see the X &Y axis, W & H percentages. If you want to flip your image upside down, simply change the Height (H) percentage to -100%. Likewise if you want to flip your image horizontally, then change your Width (W) percentage to negative 100% and press enter to set the transformation.
Once again I lowered the opacity of the new layer to 30% so I could see what was behind it, then used the transform tool to move the layer around and change it’s size so the clouds would line up in the reflection of the shoreline. Once I was happy with the placement, I set the layer’s blend mode to Multiply and set the opacity to 80%.
Finally I applied a layer mask to the reflection clouds and used a brush at 100% opacity to remove any areas of the image that weren’t needed. Once I started getting close to the area I wanted to work on, I switched my brush to an opacity of 20% and slowly brushed away until I was happy with the clouds that were left on the shoreline.
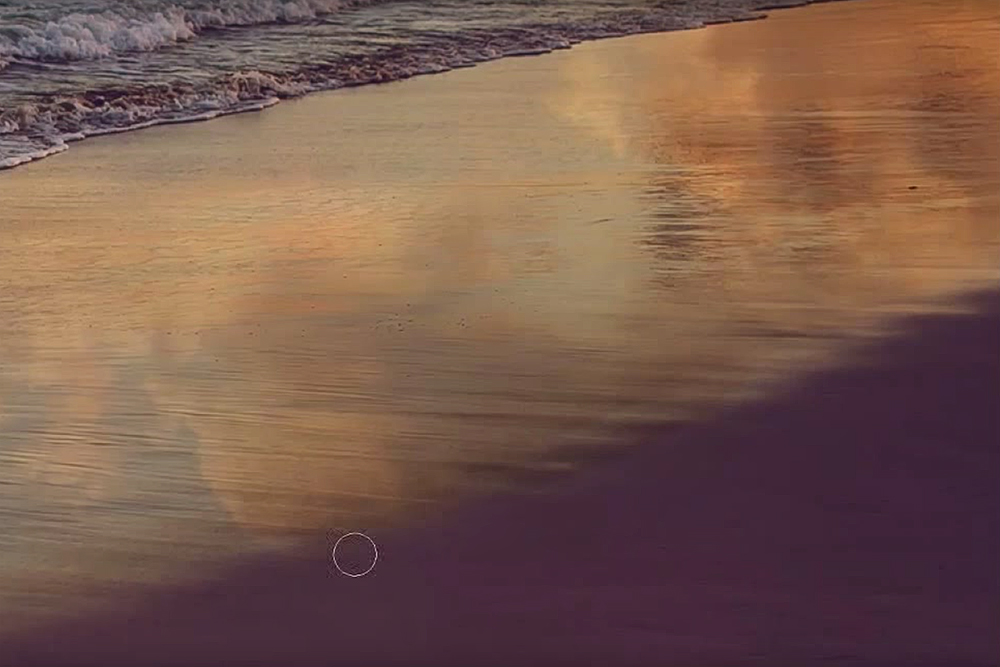
06. Little Details // I’ve mentioned in my tutorials in the past that once you remove the more obvious distractions, sometimes the eyes are drawn into something new in the image. In this case, my eyes are now gazing into the bottom right hand corner of the image where you can see a few other footprints and dark spots in the sand. I create a new blank layer and use the Clone Stamp Tool at a 20-40% opacity to start smoothing out the sand. While using the Clone Stamp Tool it is important to constantly have your finger hovering over the Alt key to quickly be able to select new areas for the tool to sample from. This helps to not create recurring patterns in the texture you are cloning, but rather keeping it looking random and thus more natural.
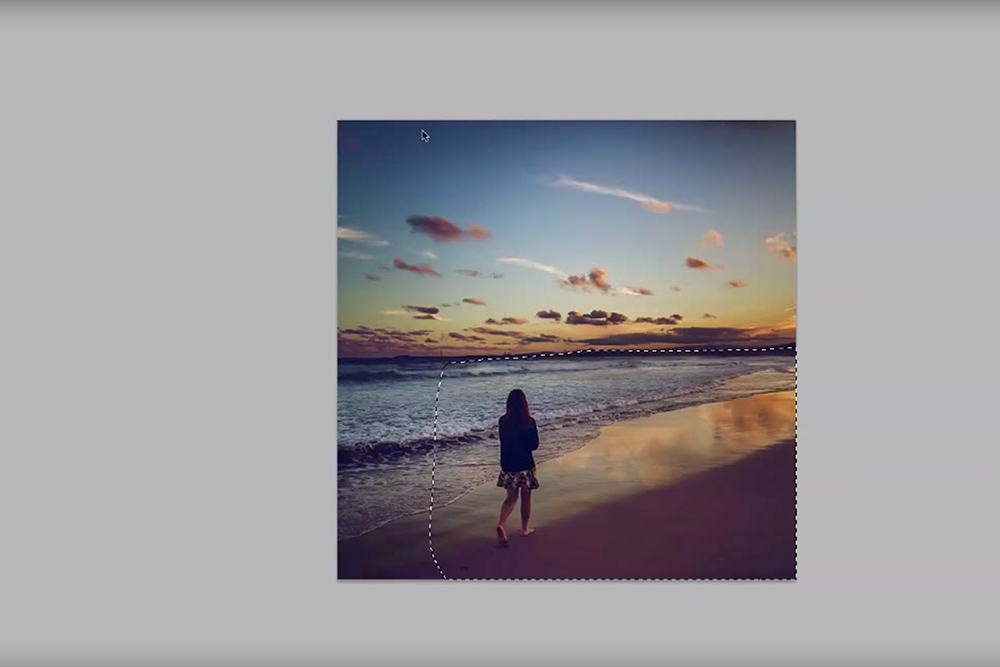
07. Tone // I was happy with how the final image was looking now that we’ve finished the expansion, but still felt like it could use a little more contrast to make it look more dramatic. I use the Lasso Tool to select different areas of the image, starting with the left hand side of the image, working my way towards the clouds and finishing off by focusing on the sand and shoreline. When I make a selection, I always feather it by 100 or 200% before opening my RGB curves to alter the tone curve to add a little more contrast. This help the curve you are adding to your image blend in.
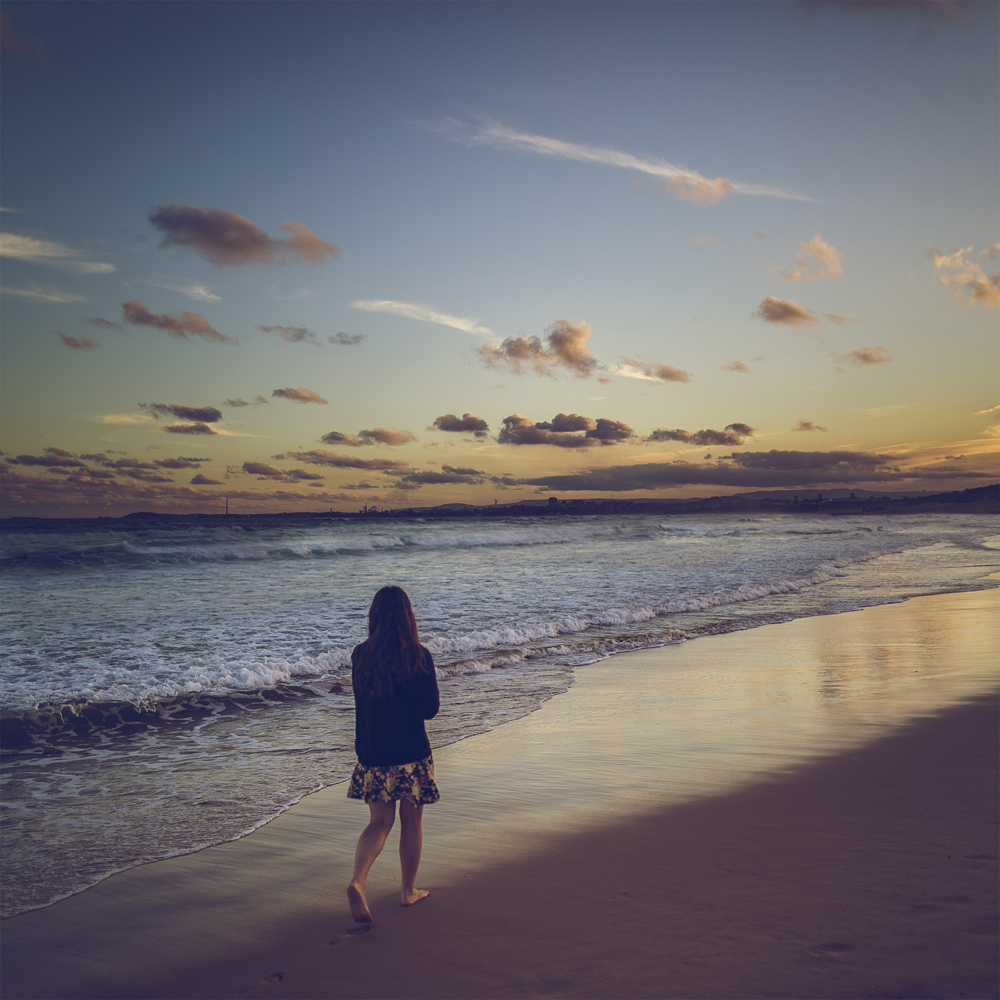
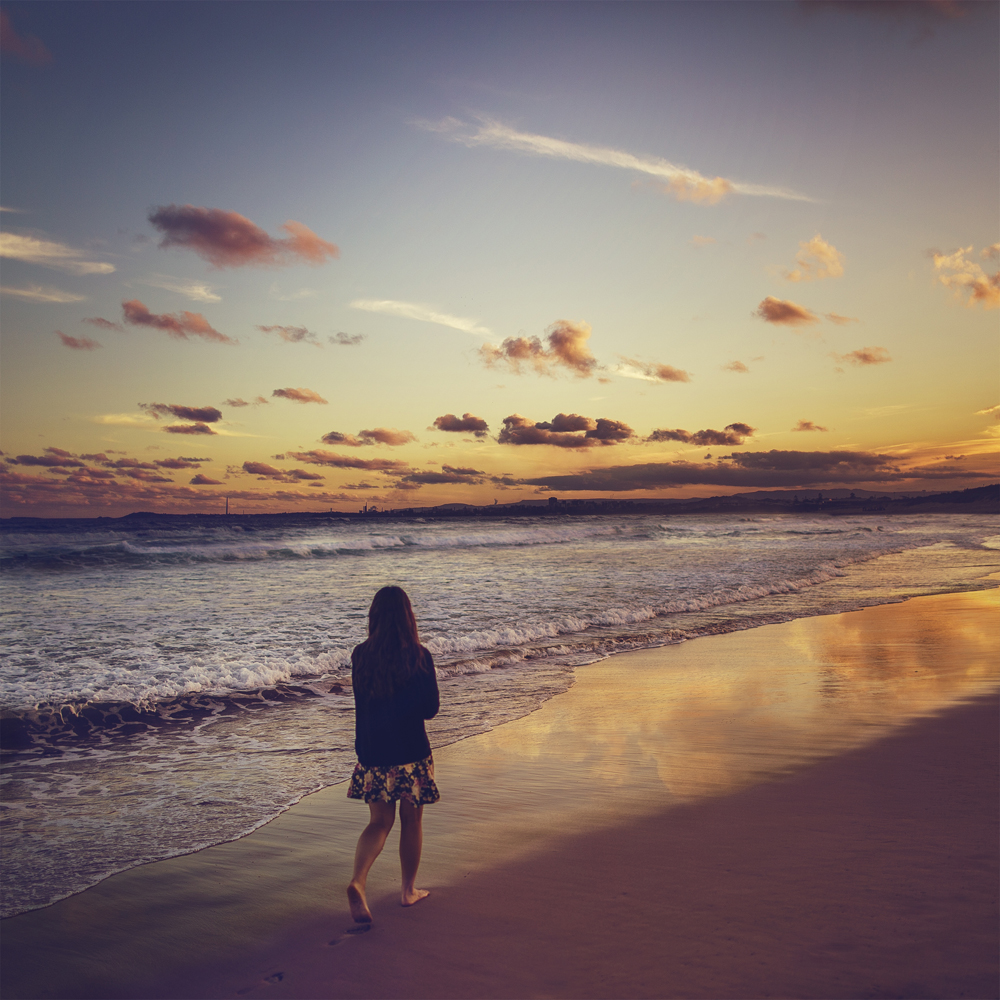
08. Colour Grade // Last but not least I opt to do one last colour grade on the image. I still felt like the overall image was looking quite blue and detached from the amazing sunset that was happening to the right side of the image. I create an RGB curve adjustment layer for the entire image and remove the blue tinge in the shadows and add some warmth into the mid range. And there we have it! This is the final image below.
Please subscribe to our channel! We release 2 new videos a week including Lightroom Tutorials, Photoshop Tutorials, Digital Film Preset Features, Fashion Shoot Behind the Scenes & vlogs!

