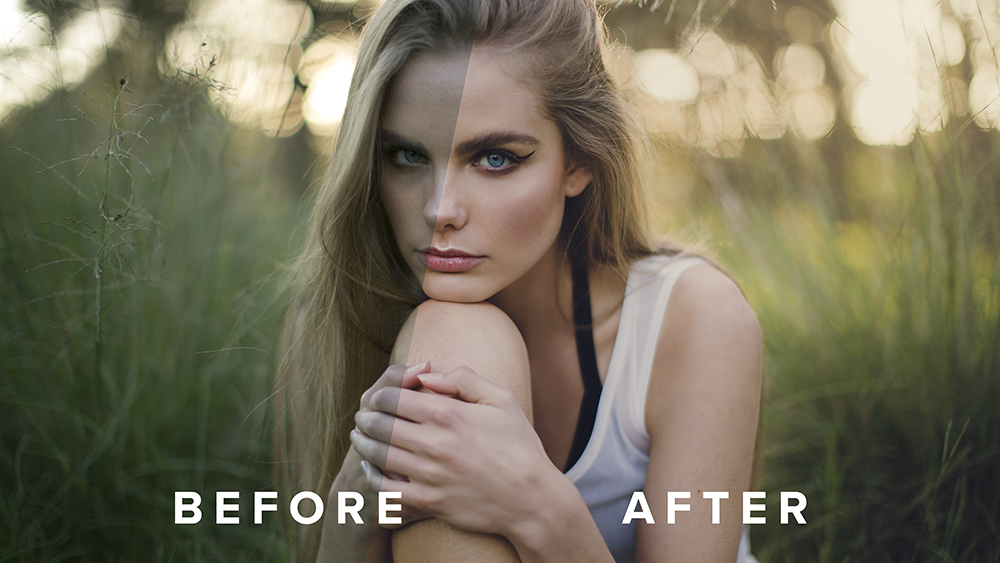
In today’s tutorial, we’re going to go through a few basic portrait retouching Photoshop Tools. These include:
- Healing Brush Tool
- Clone Stamp Tool
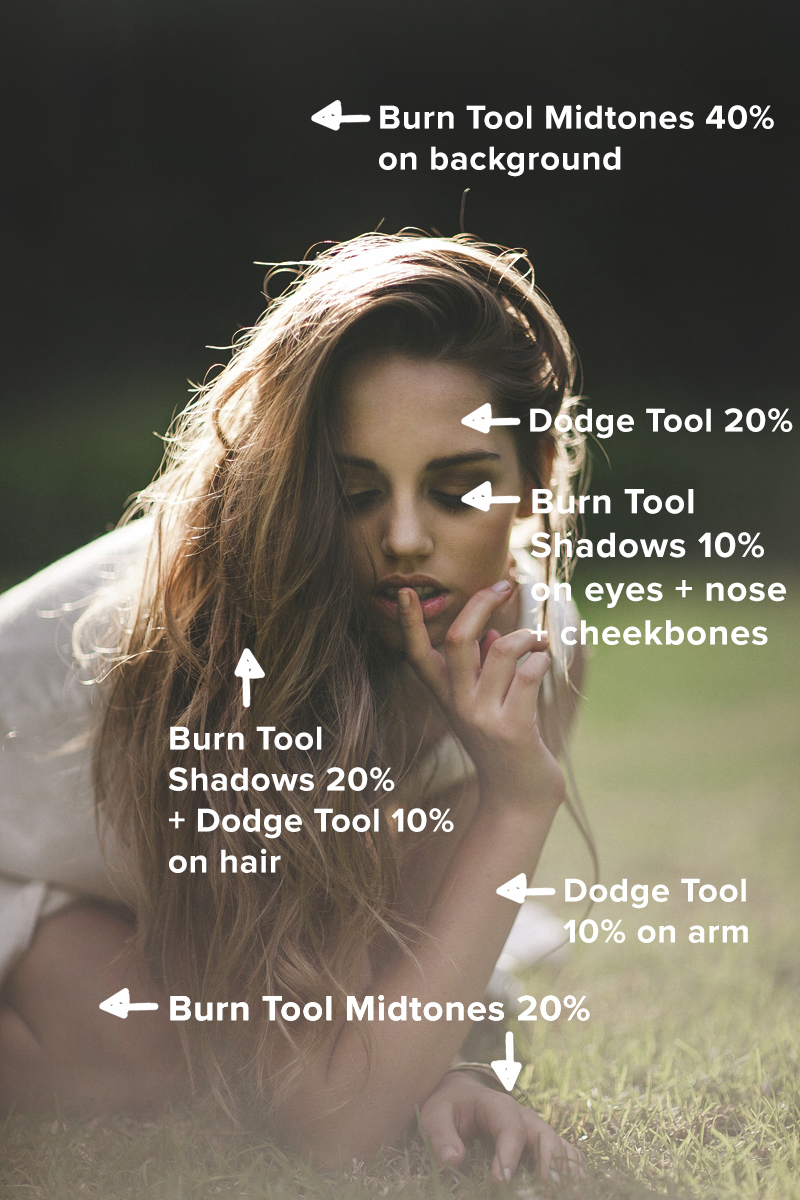
- Dodge Tool
- Burn Tool
Each of these tools are essential for portrait retouching in Photoshop, so we’re going to go through an explain what each one is, what they do and how you can use them to reach the next level in your retouching.
01. Healing Brush Tool // The Healing Brush Tool is an extremely powerful tool in Photoshop. You can use it to remove blemishes from the skin, wrinkles, stray strings on fabric, scratches, dust, distractions, pretty much anything! To find the Healing Brush, you can click on the bandaid icon in Photoshop’s Tool Module or you can tap the shortcut “J”. There are two different Healing Brushes including the original Healing Brush Tool and the Spot Healing Brush Tool. Both work in similar ways. We are going to focus on the Healing Brush Tool first.
Before we can start using this tool, we need to understand how it works first. The Healing Brush Tool takes a sample from another part of the image which you can then use to paint over the section of image you want to repair. The tool then blends in your selection causing it to disappear into the surrounding image. The Healing Brush Tool does this by matching the texture, lighting, transparency and shading of your sampled selection allowing it to blend seamlessly into the image.
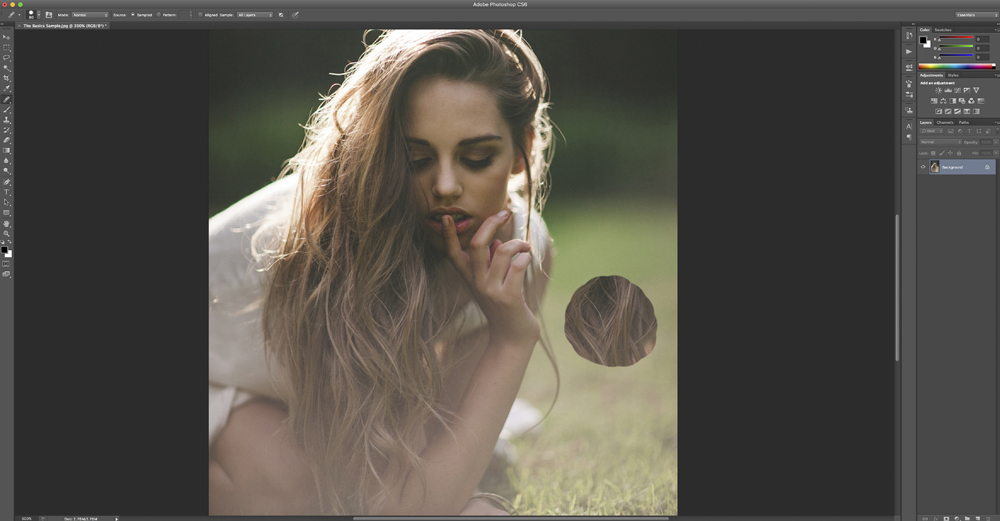
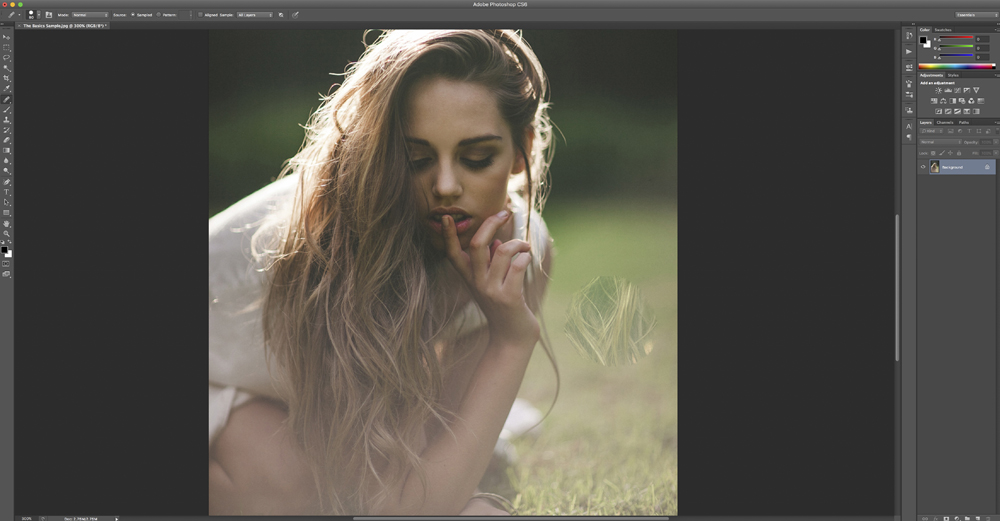
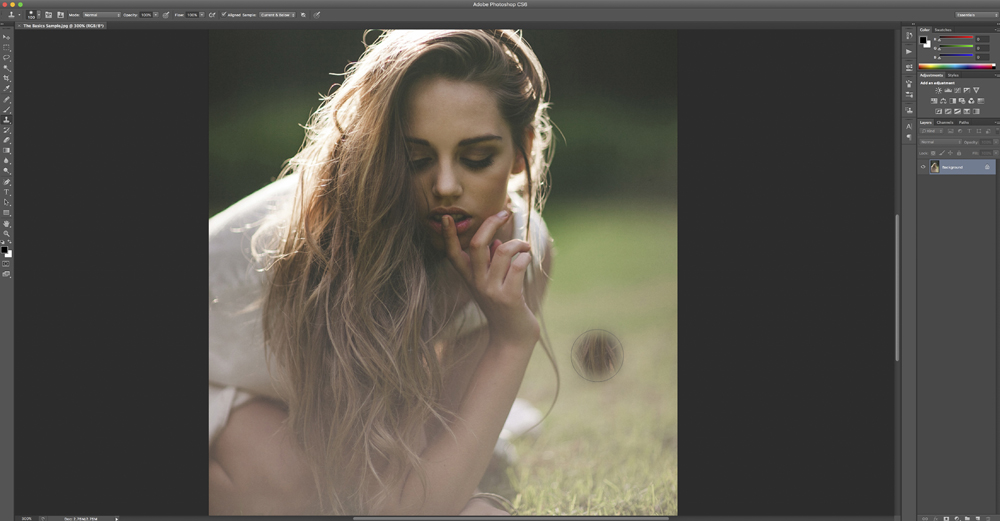
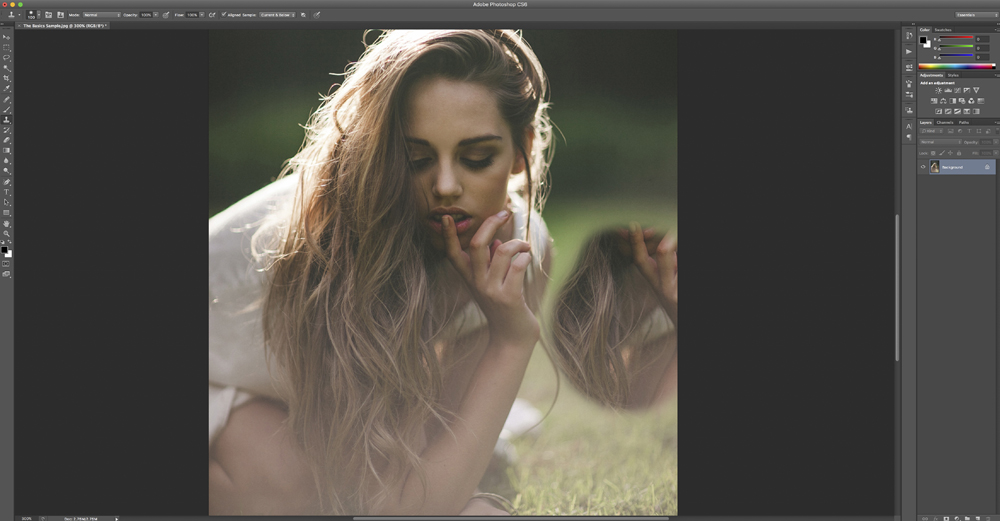
You can see how the Healing Brush Tool works below. We selected a sample (by Alt + clicking on a particular area) from the model’s hair and painted it into the grass. Can you see how at first the new area of hair in the grass looks exactly the same as the hair we sampled from? As soon as we let go of the mouse, the Healing Brush Tool gets to work to start blending the painted area. We can now see that the hair has a transparent look and the colour is matching its surroundings.


