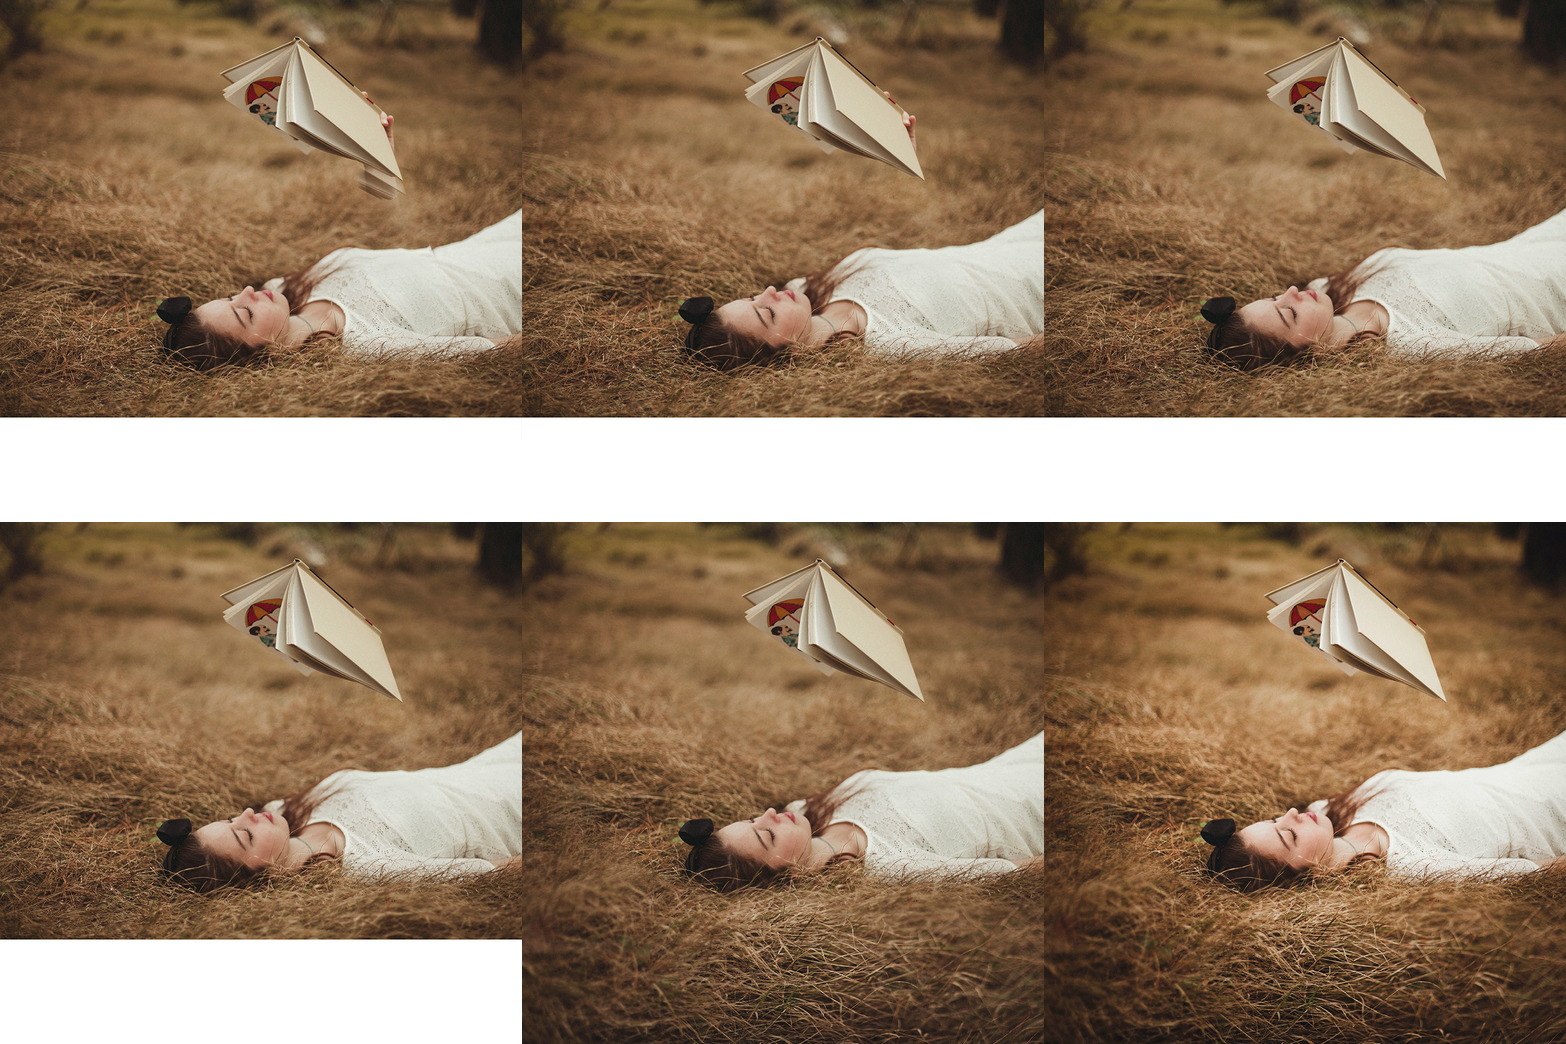
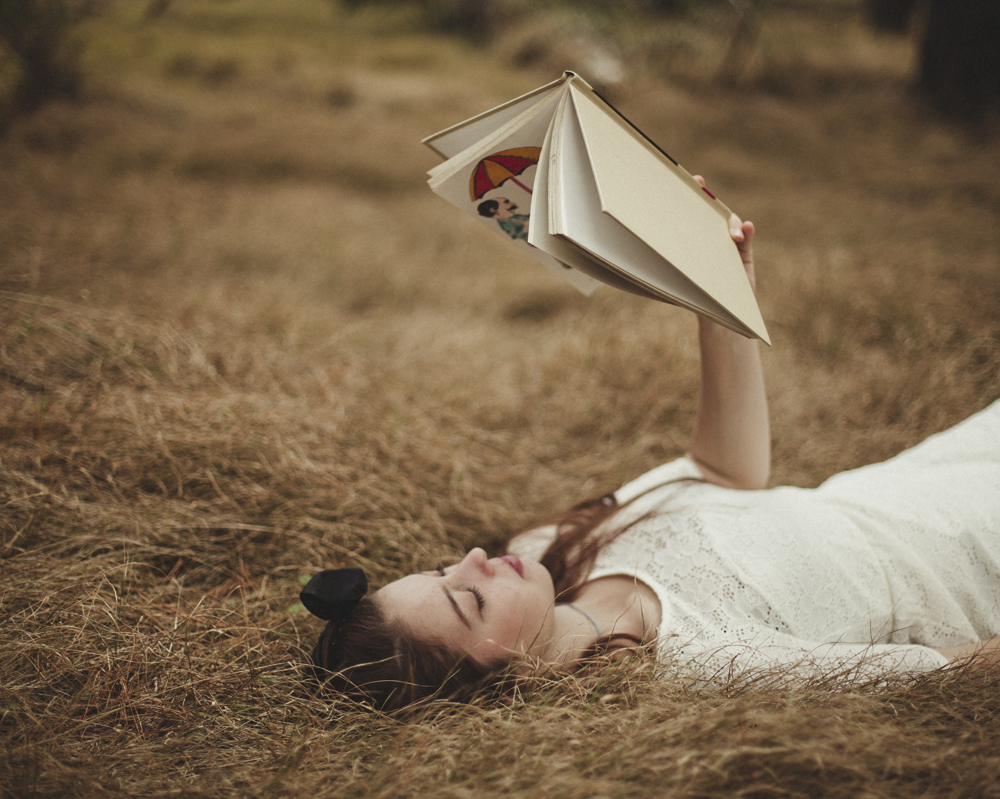
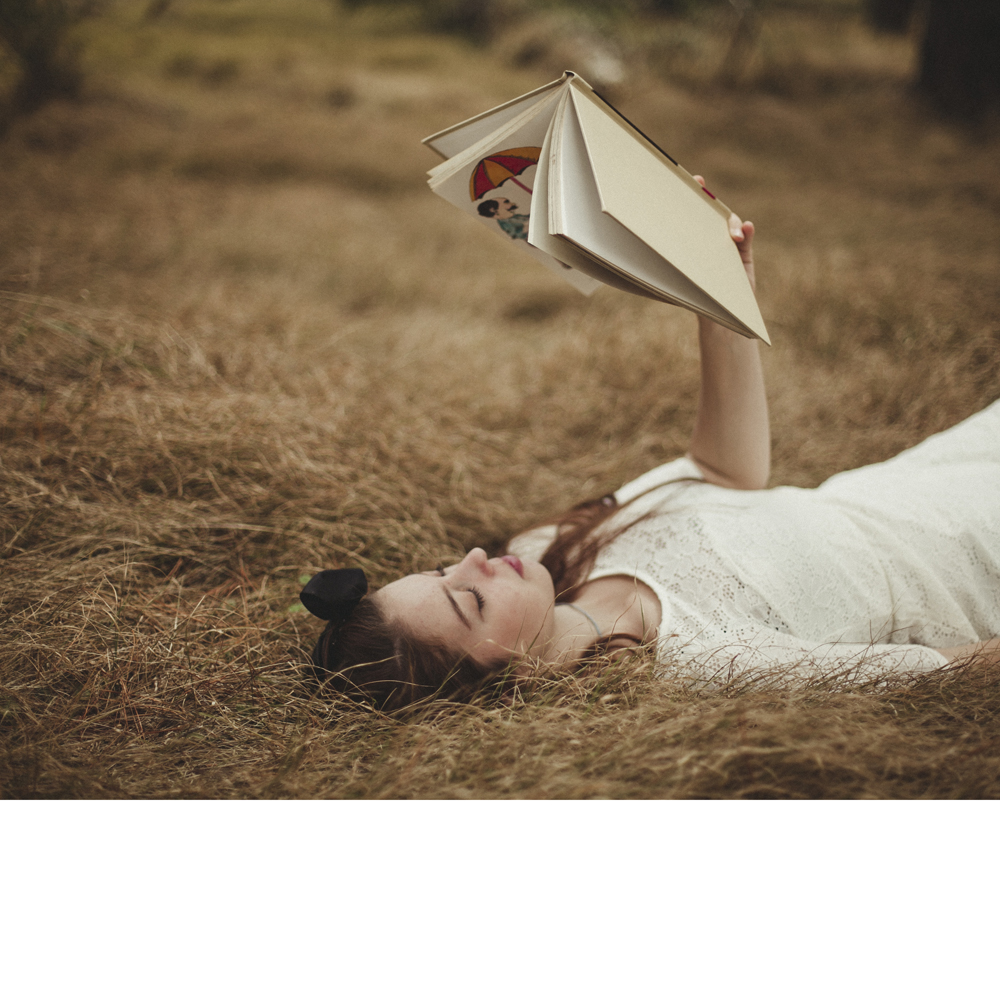
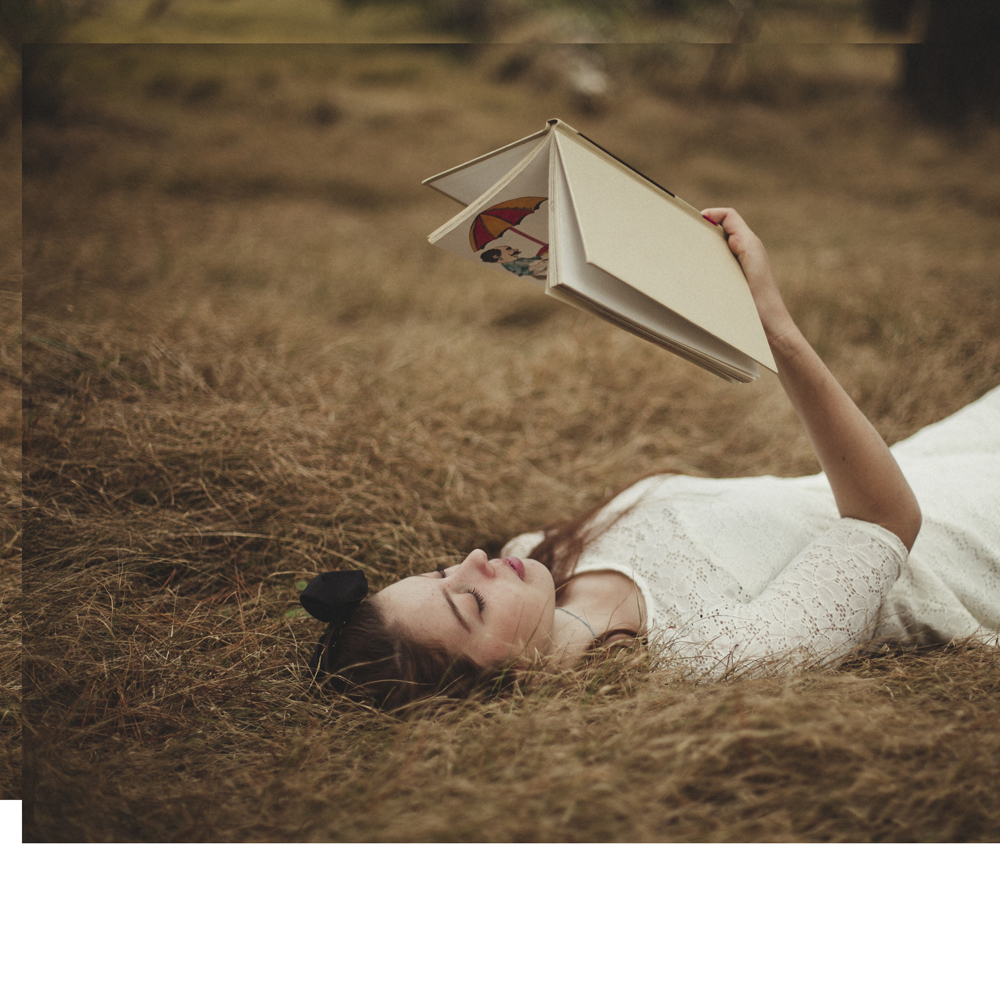
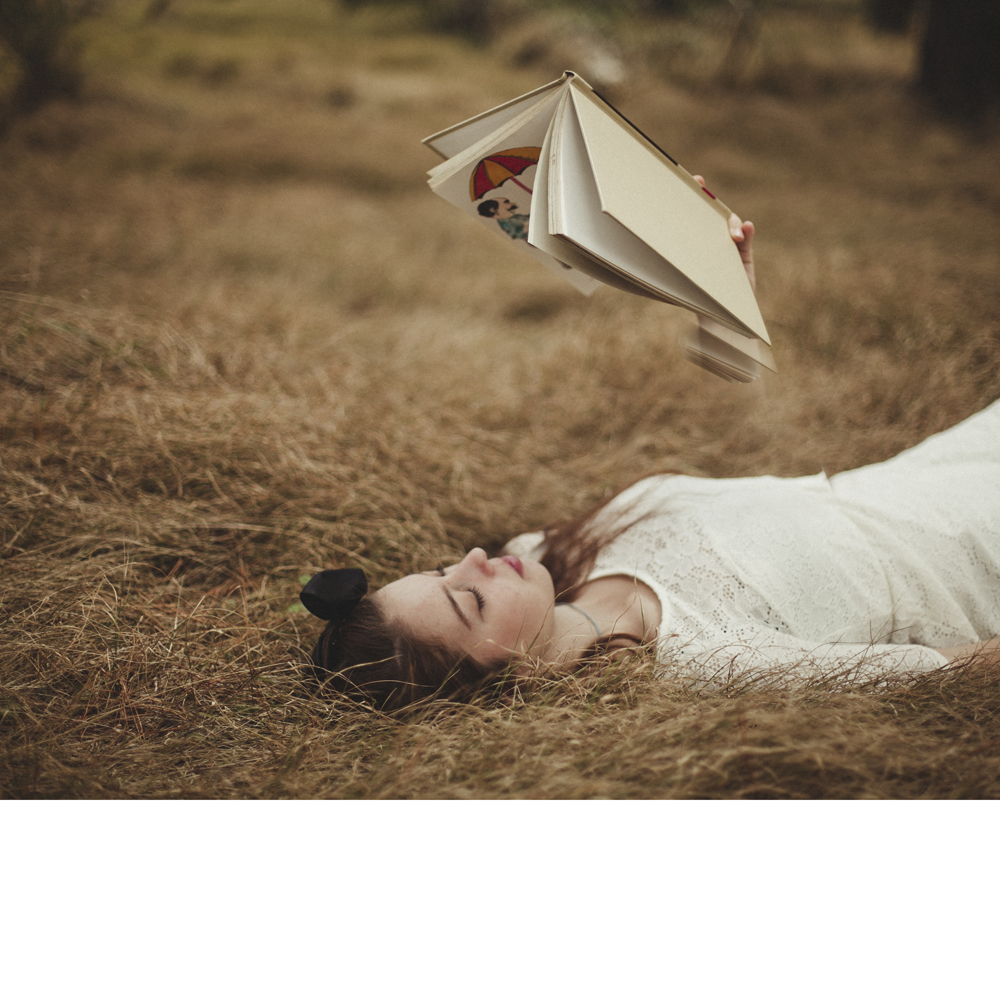
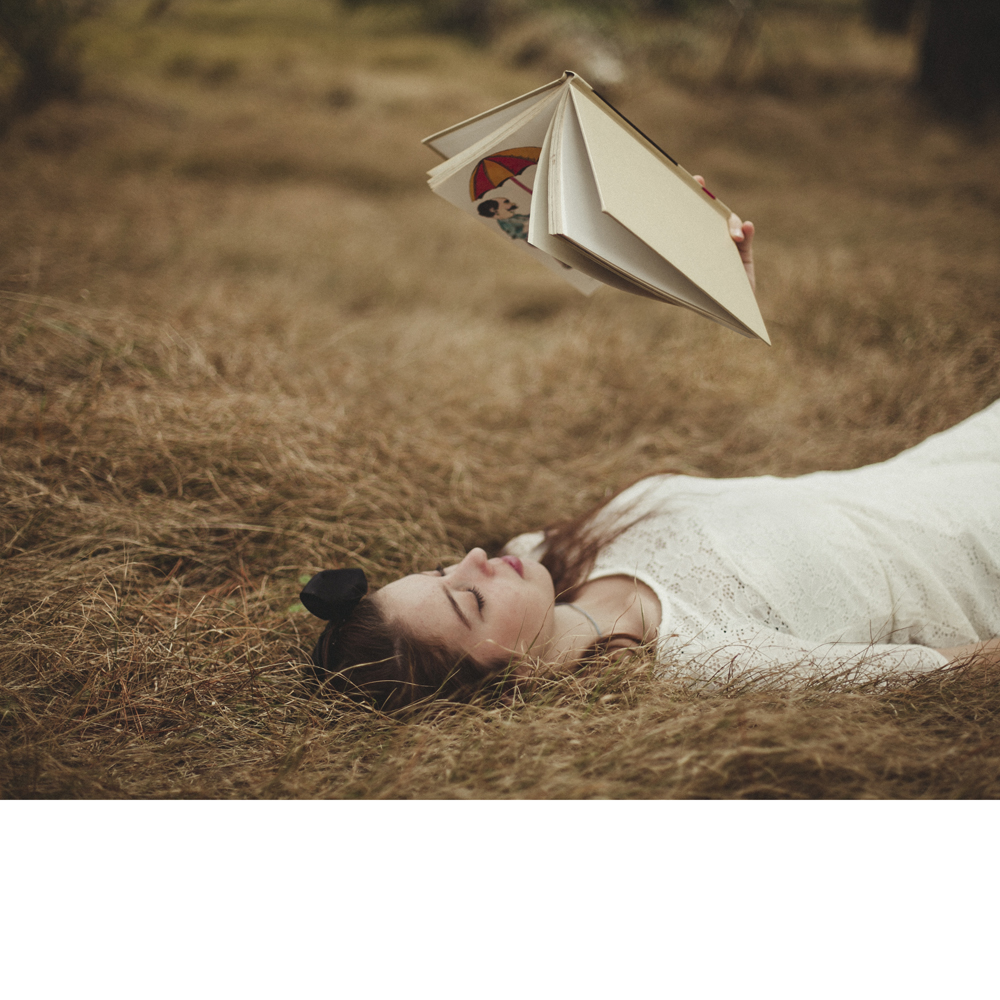
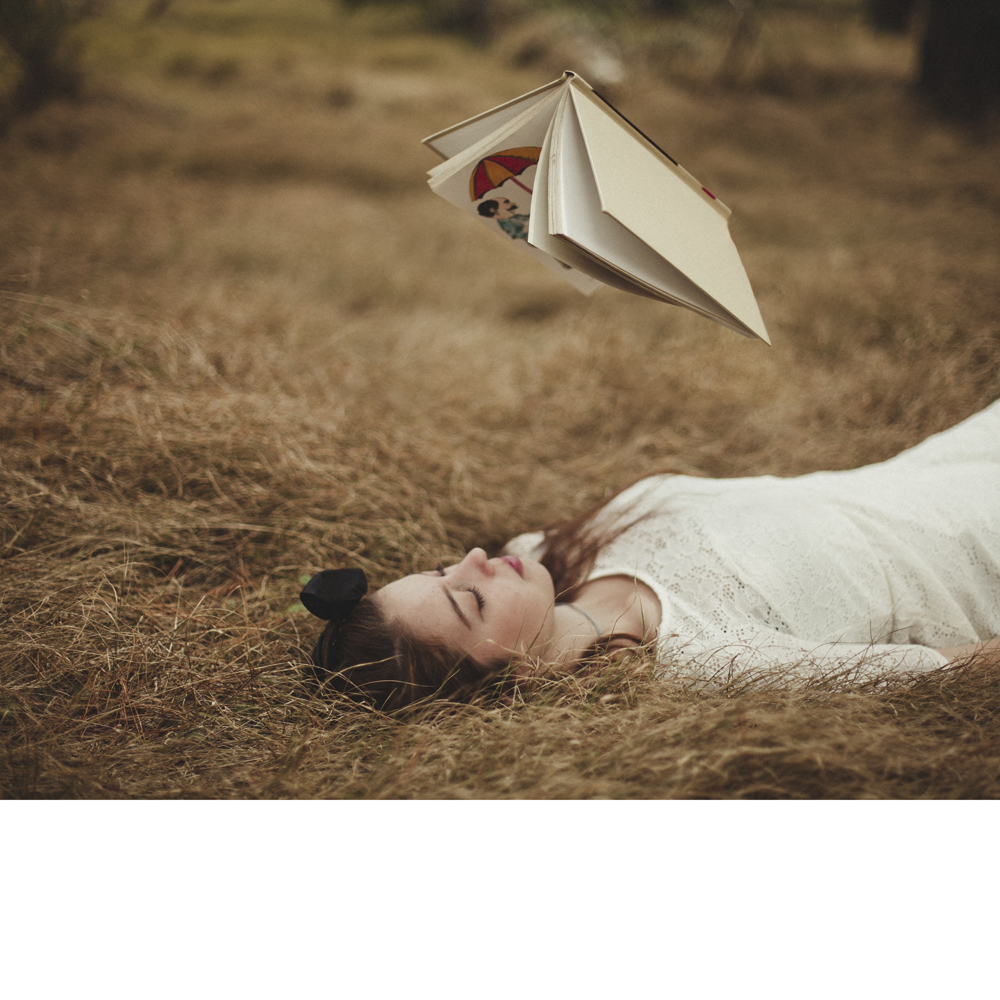
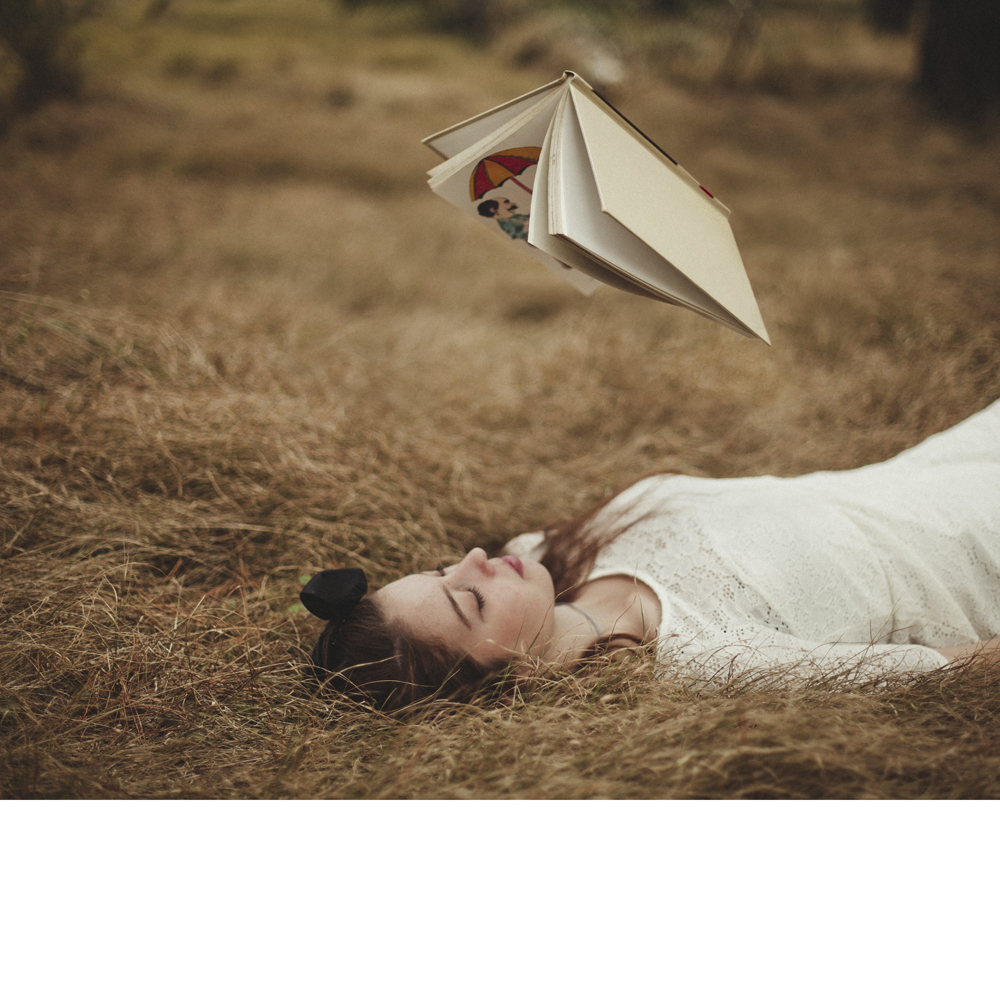
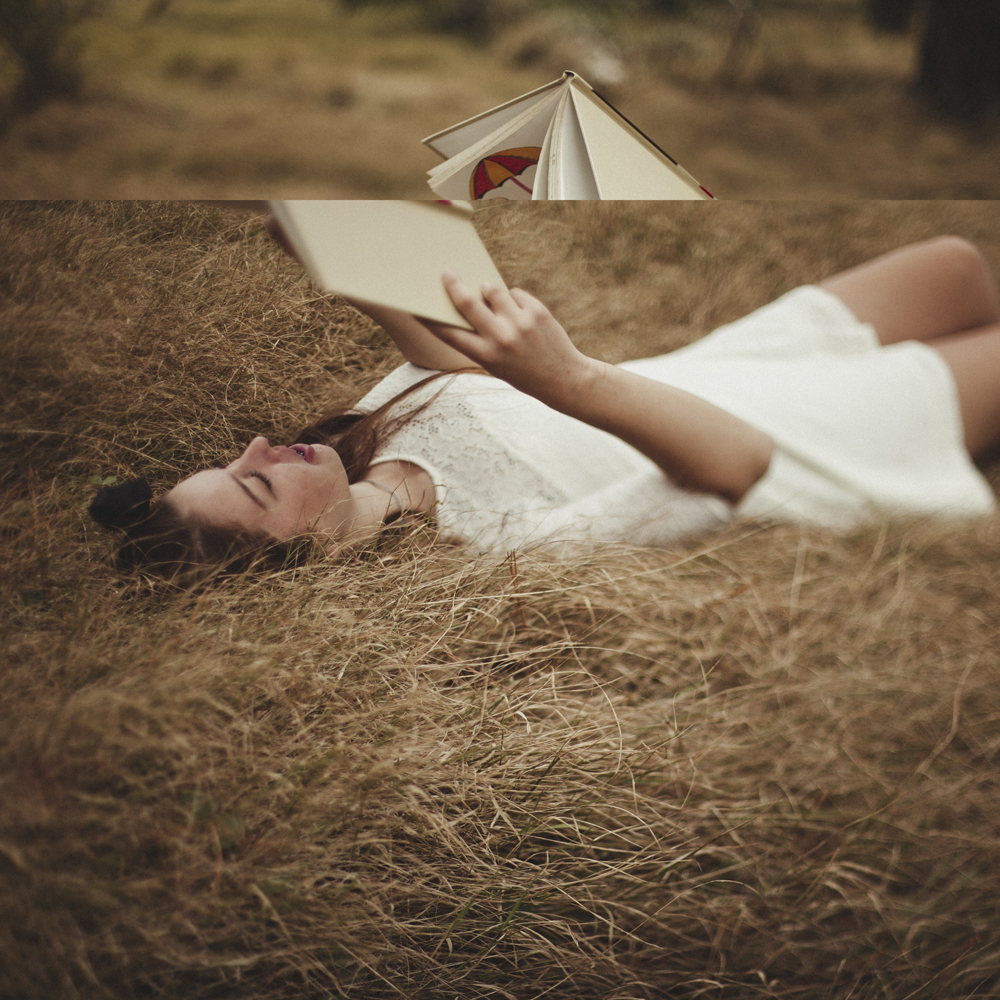
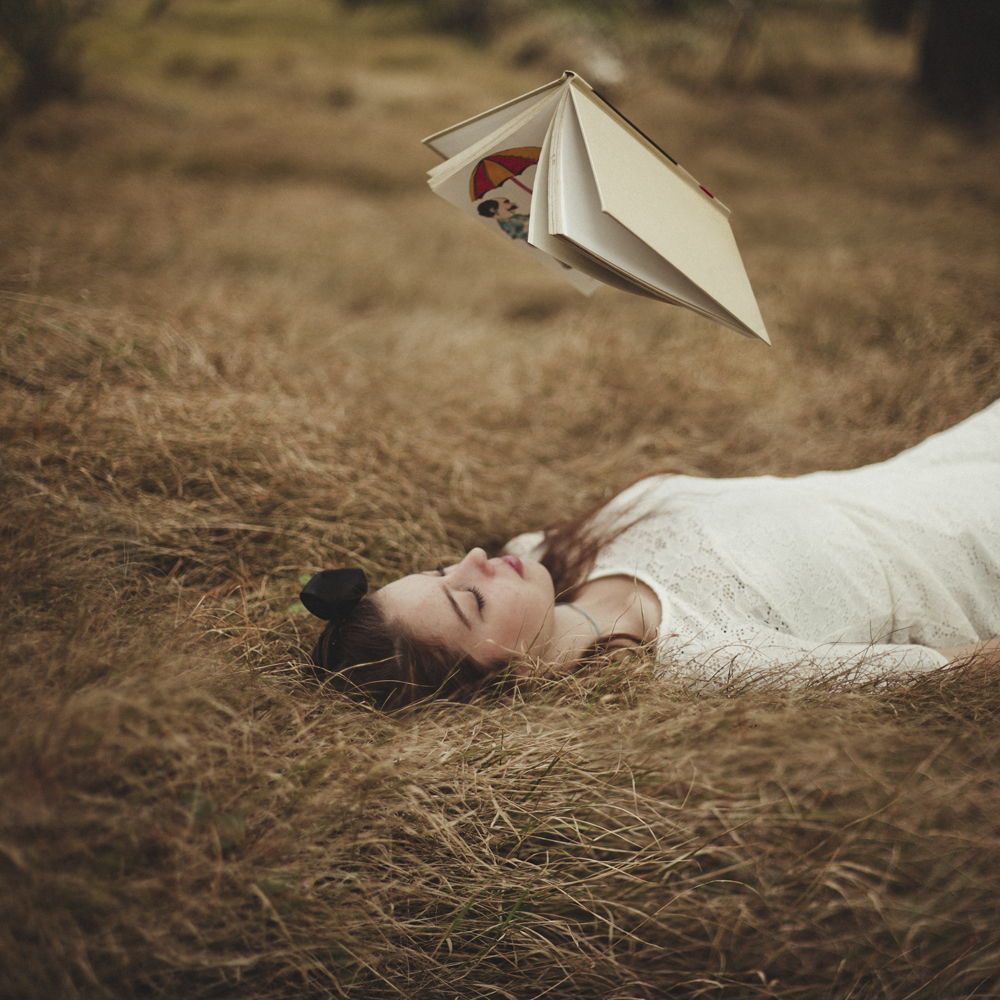
06. Adding Grass // The last part of the image we’re going to work on is filling out the square crop at the bottom. Once again I dove into my archives to find an angle that had more grass in the photo to blend the two together. I import the whole photo into the image I am working on and move it into place. I then apply a layer mask and use a large, soft brush at 30% opacity to start brushing out any unneeded sections of the image. Since the grass is already so unruly and this photo was shot at a low aperture with a wide depth of field, I don’t need to be too careful in how I blend in the grass.
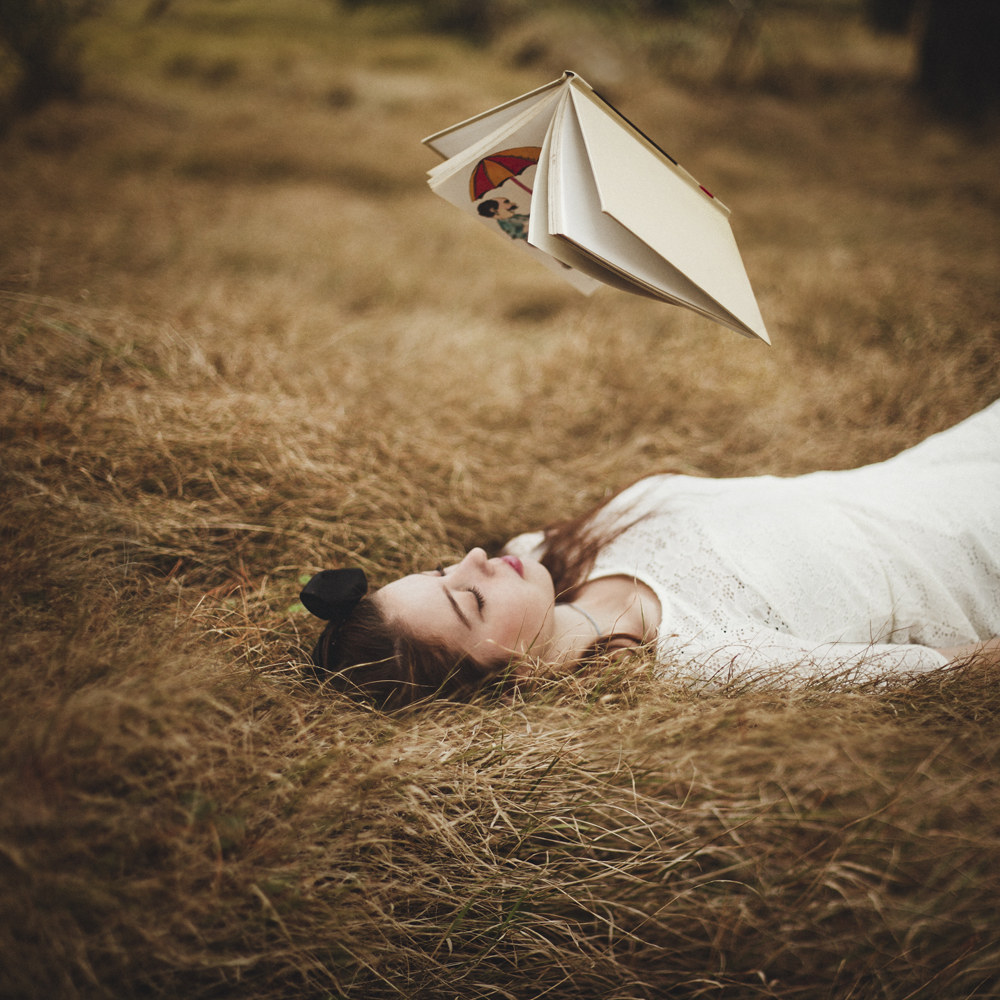
07. Colour Grading // The final step in the entire process is to do one final colour grade of the image. I am happy with how the colours look, so I am just going to tweak the tone. I use the Lasso Tool to select a rough circle around the overall image and change the feather of the selection to 200. I then use the RGB curves to bring up the brightness in the centre of the photo, drawing attention to the model and the floating book. I then make another circle selection, this time inverting the selection and changing the feather to 200 again. With RGB curves, I bring down the brightness to create a slight vignette to the photo. Below is the final photo!
